PNP
PNP
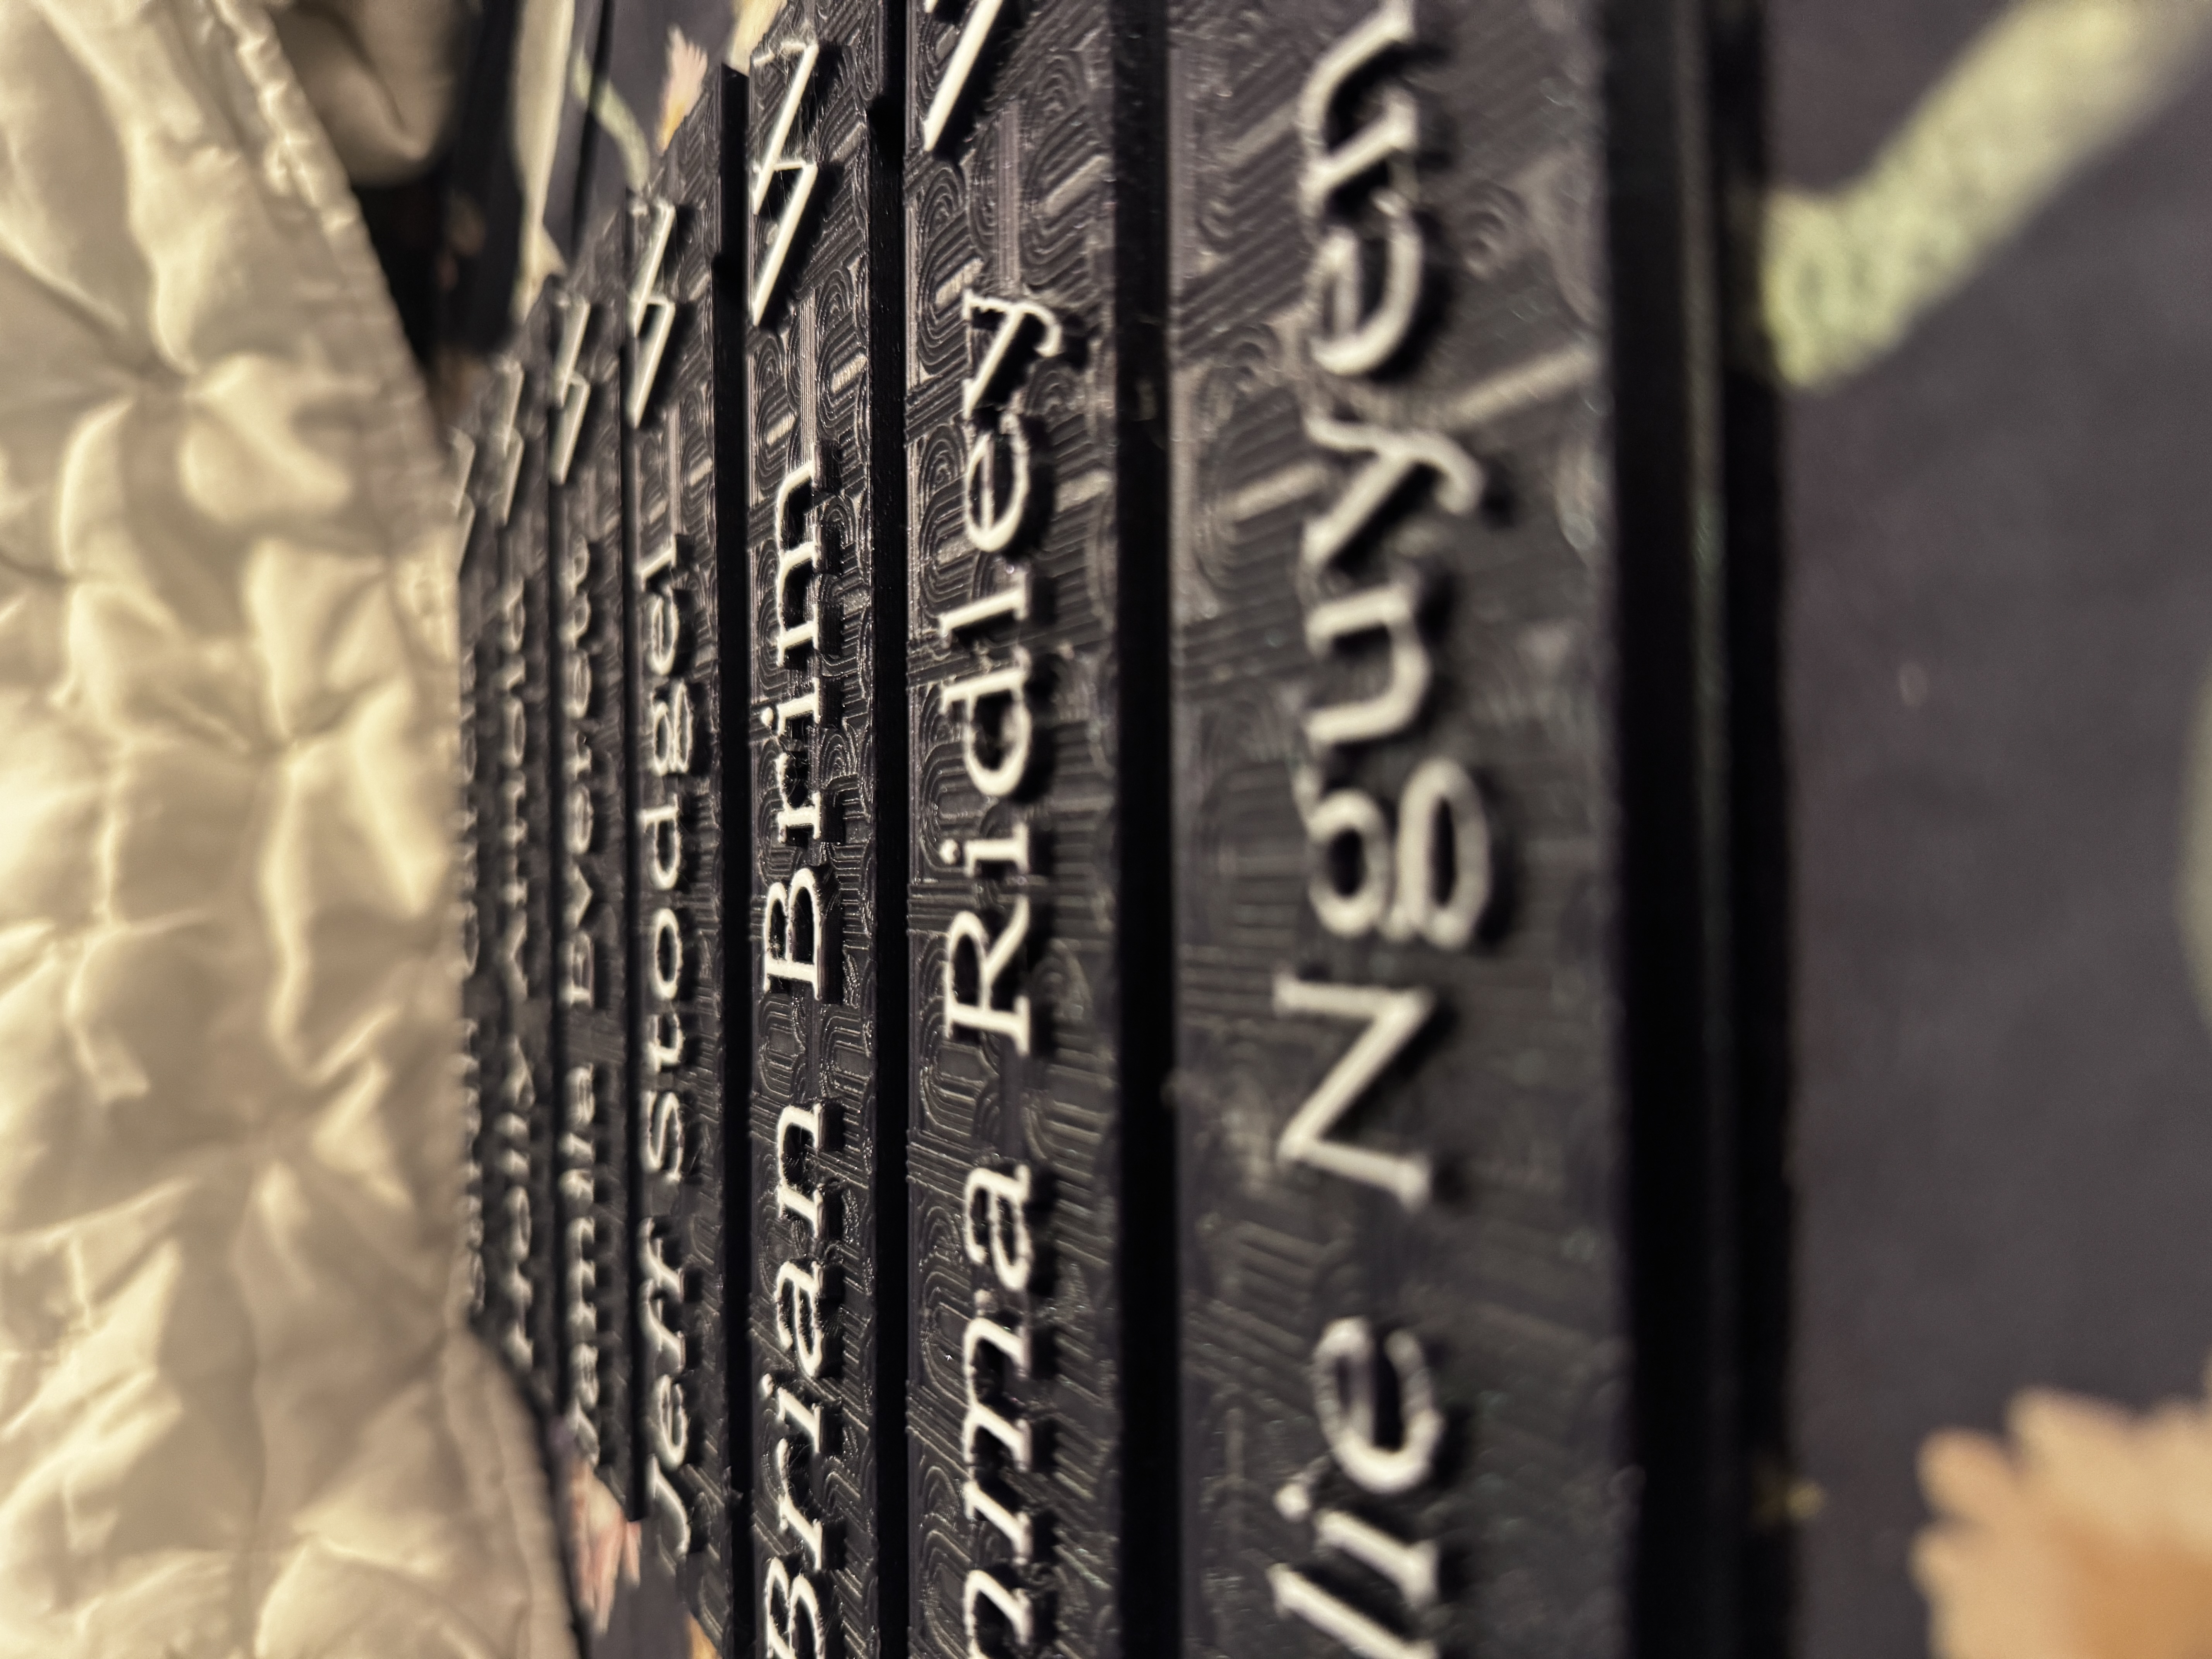
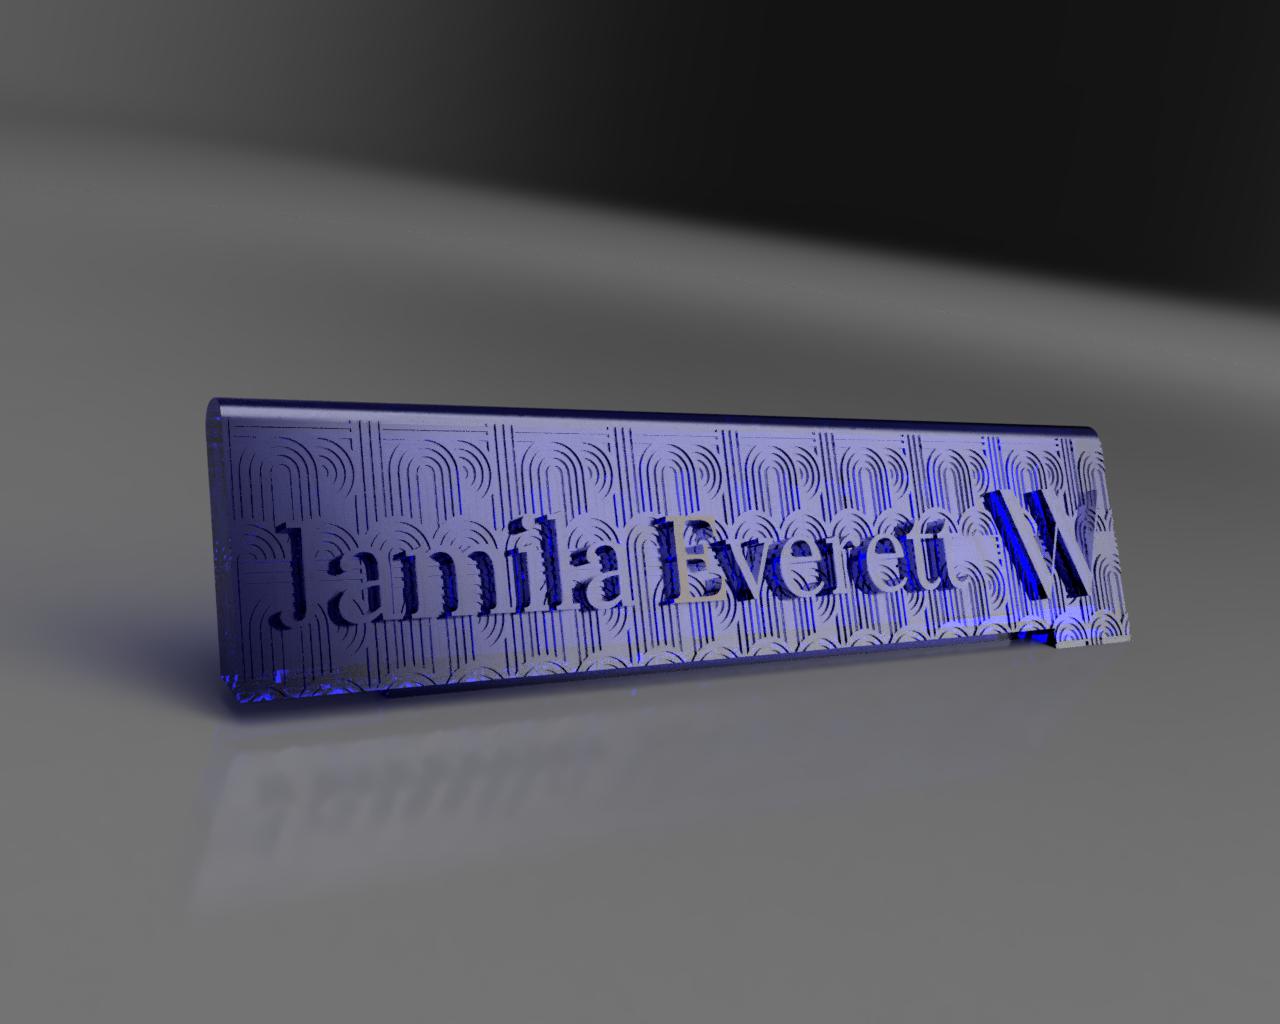
The first unit of the Technology Seminar class asked us to collaborate and create a nameplate for the admissions team.
Though I don’t have everything recorded, I still want to share some of my approaches and progress.
Background
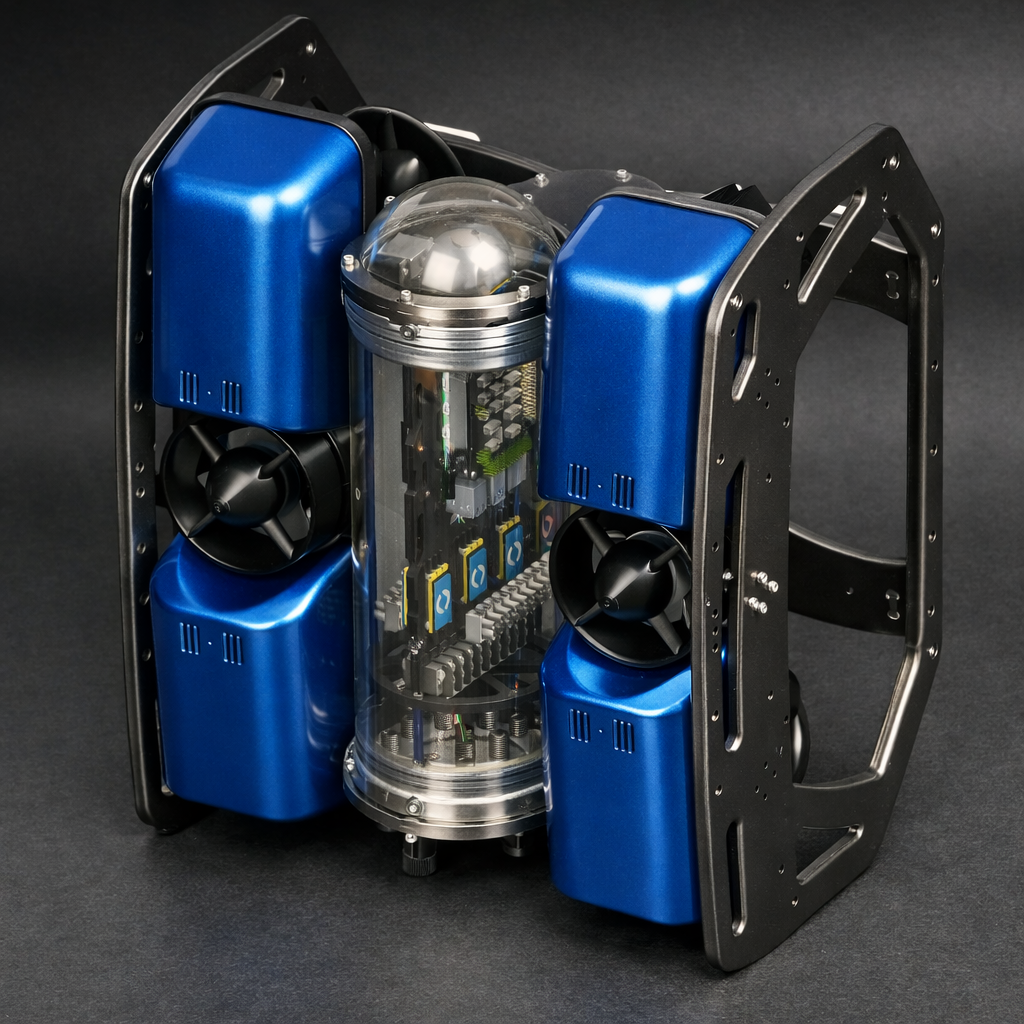
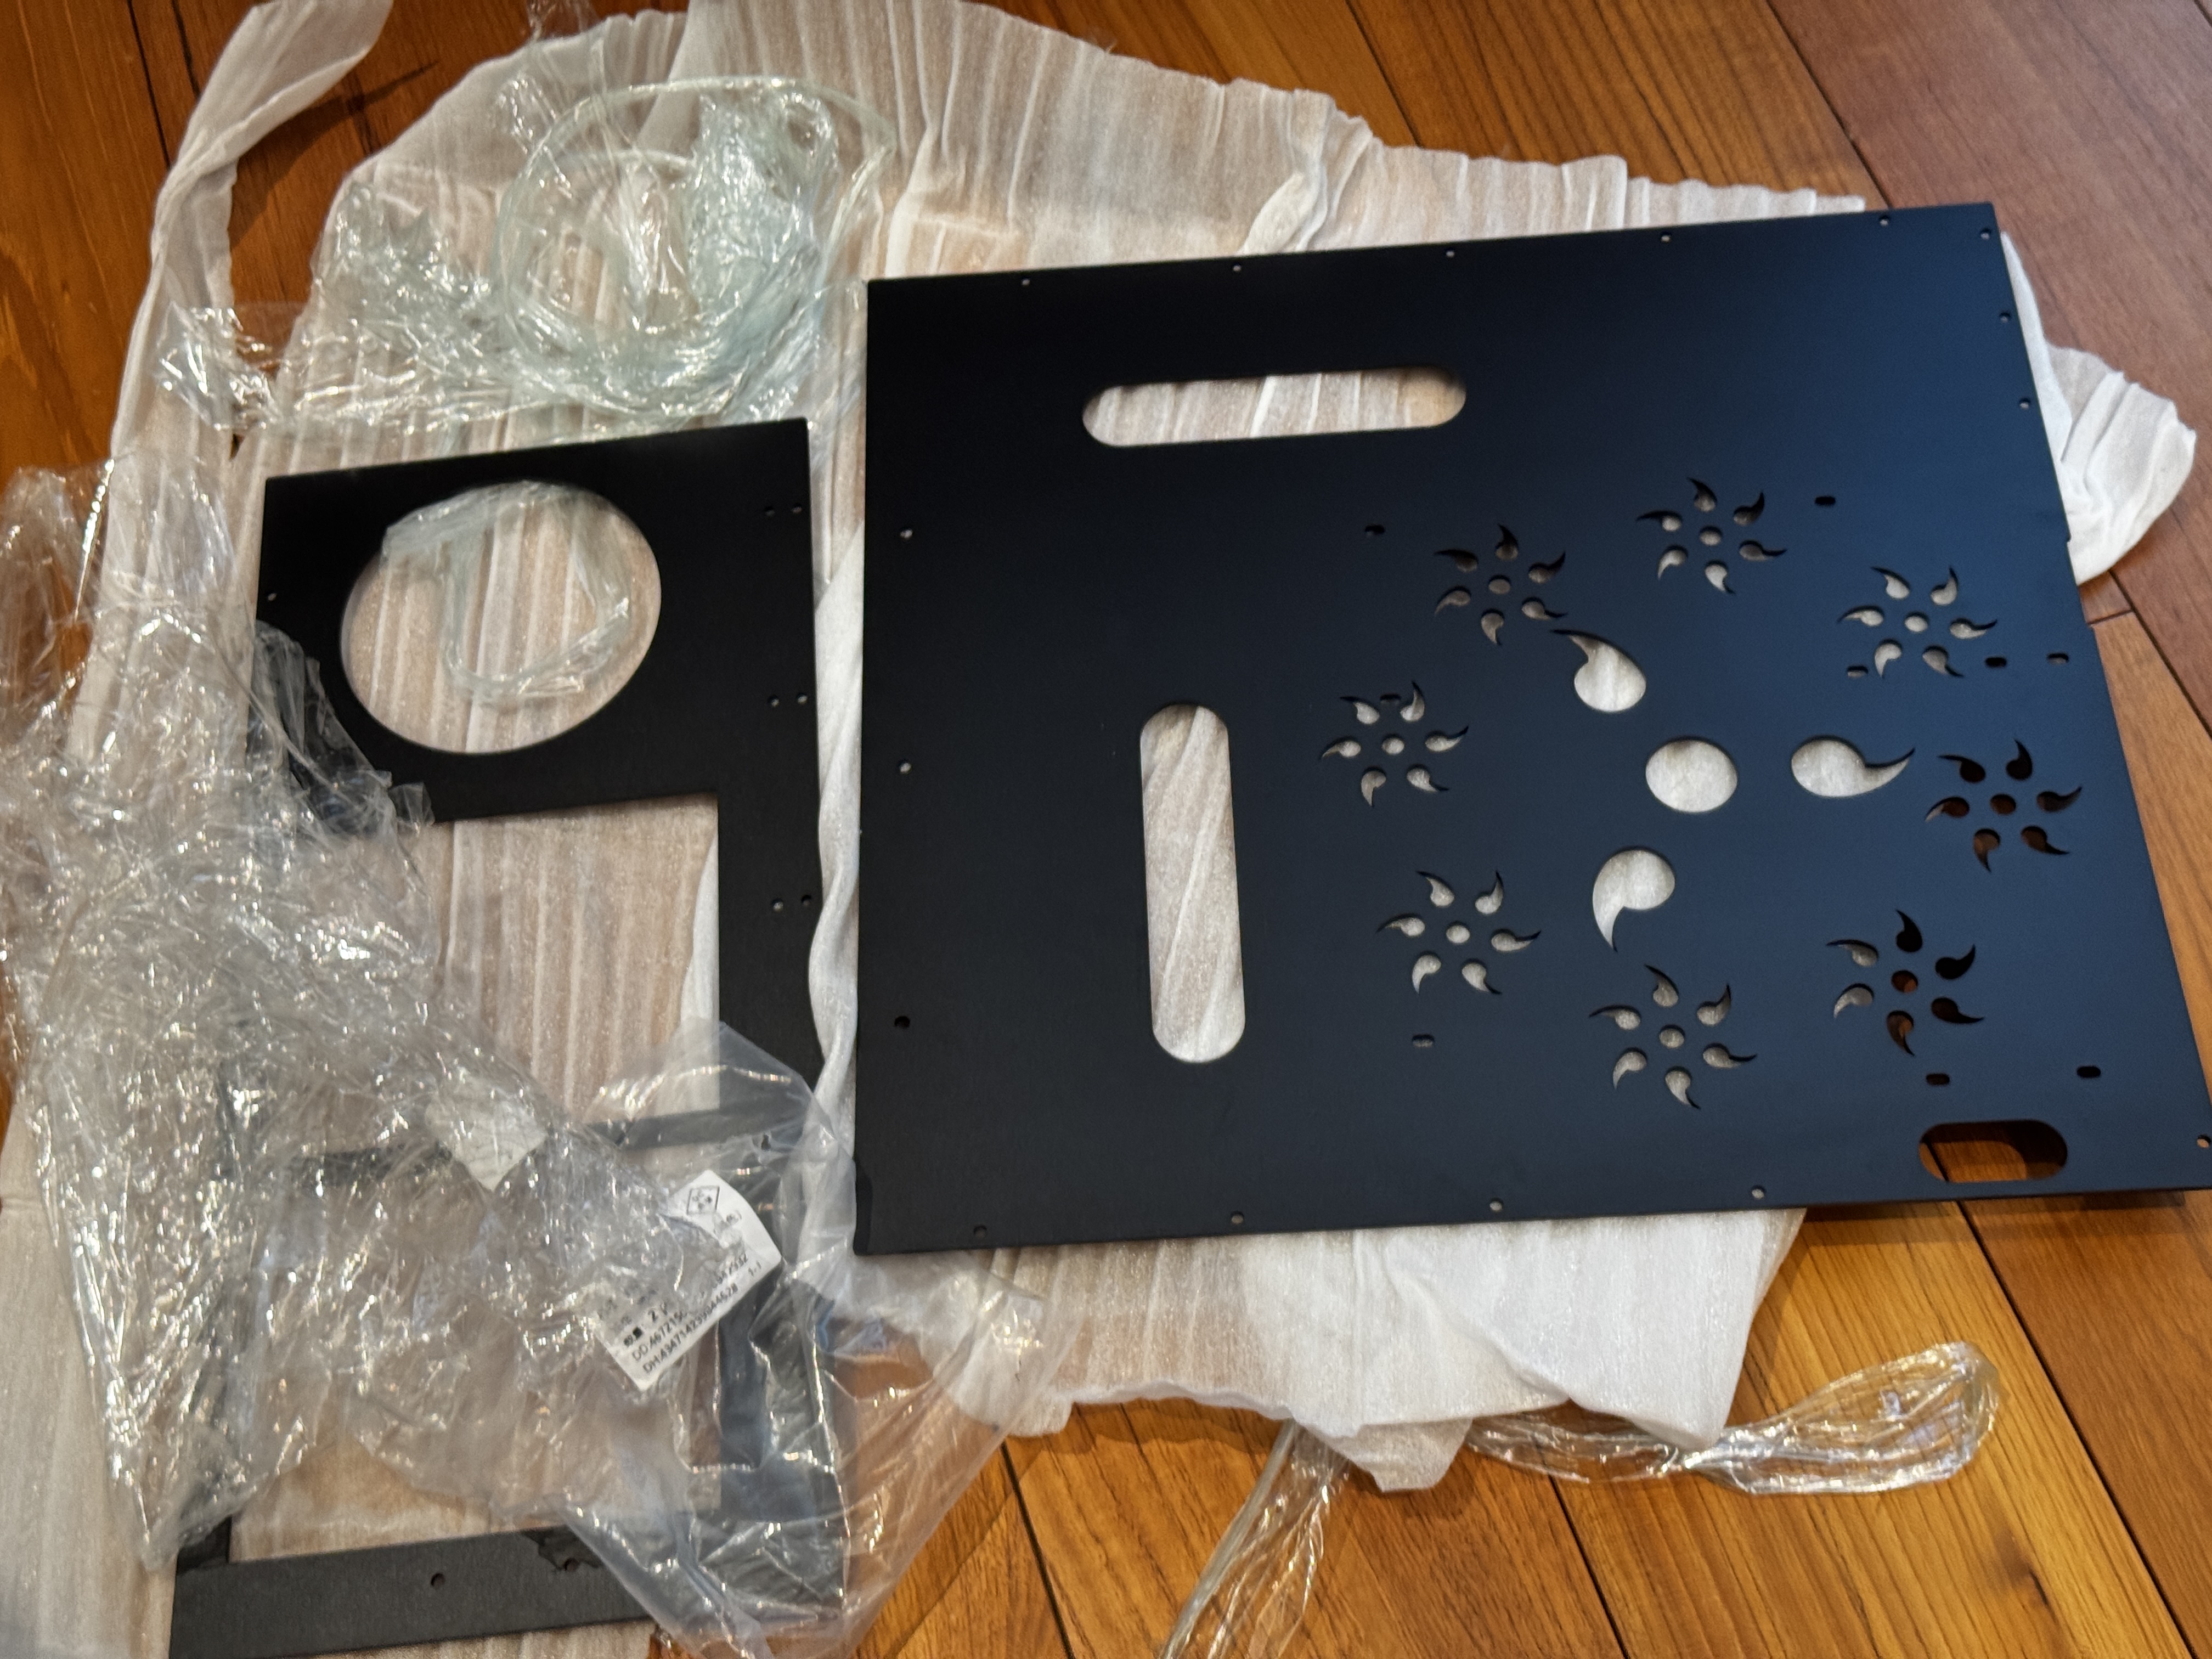
Before this project, I already had some experience in CAD — I made my own PC case.
It was my first big CAD project and took about a month… and it was painful.
Here’s a little gallery walk:
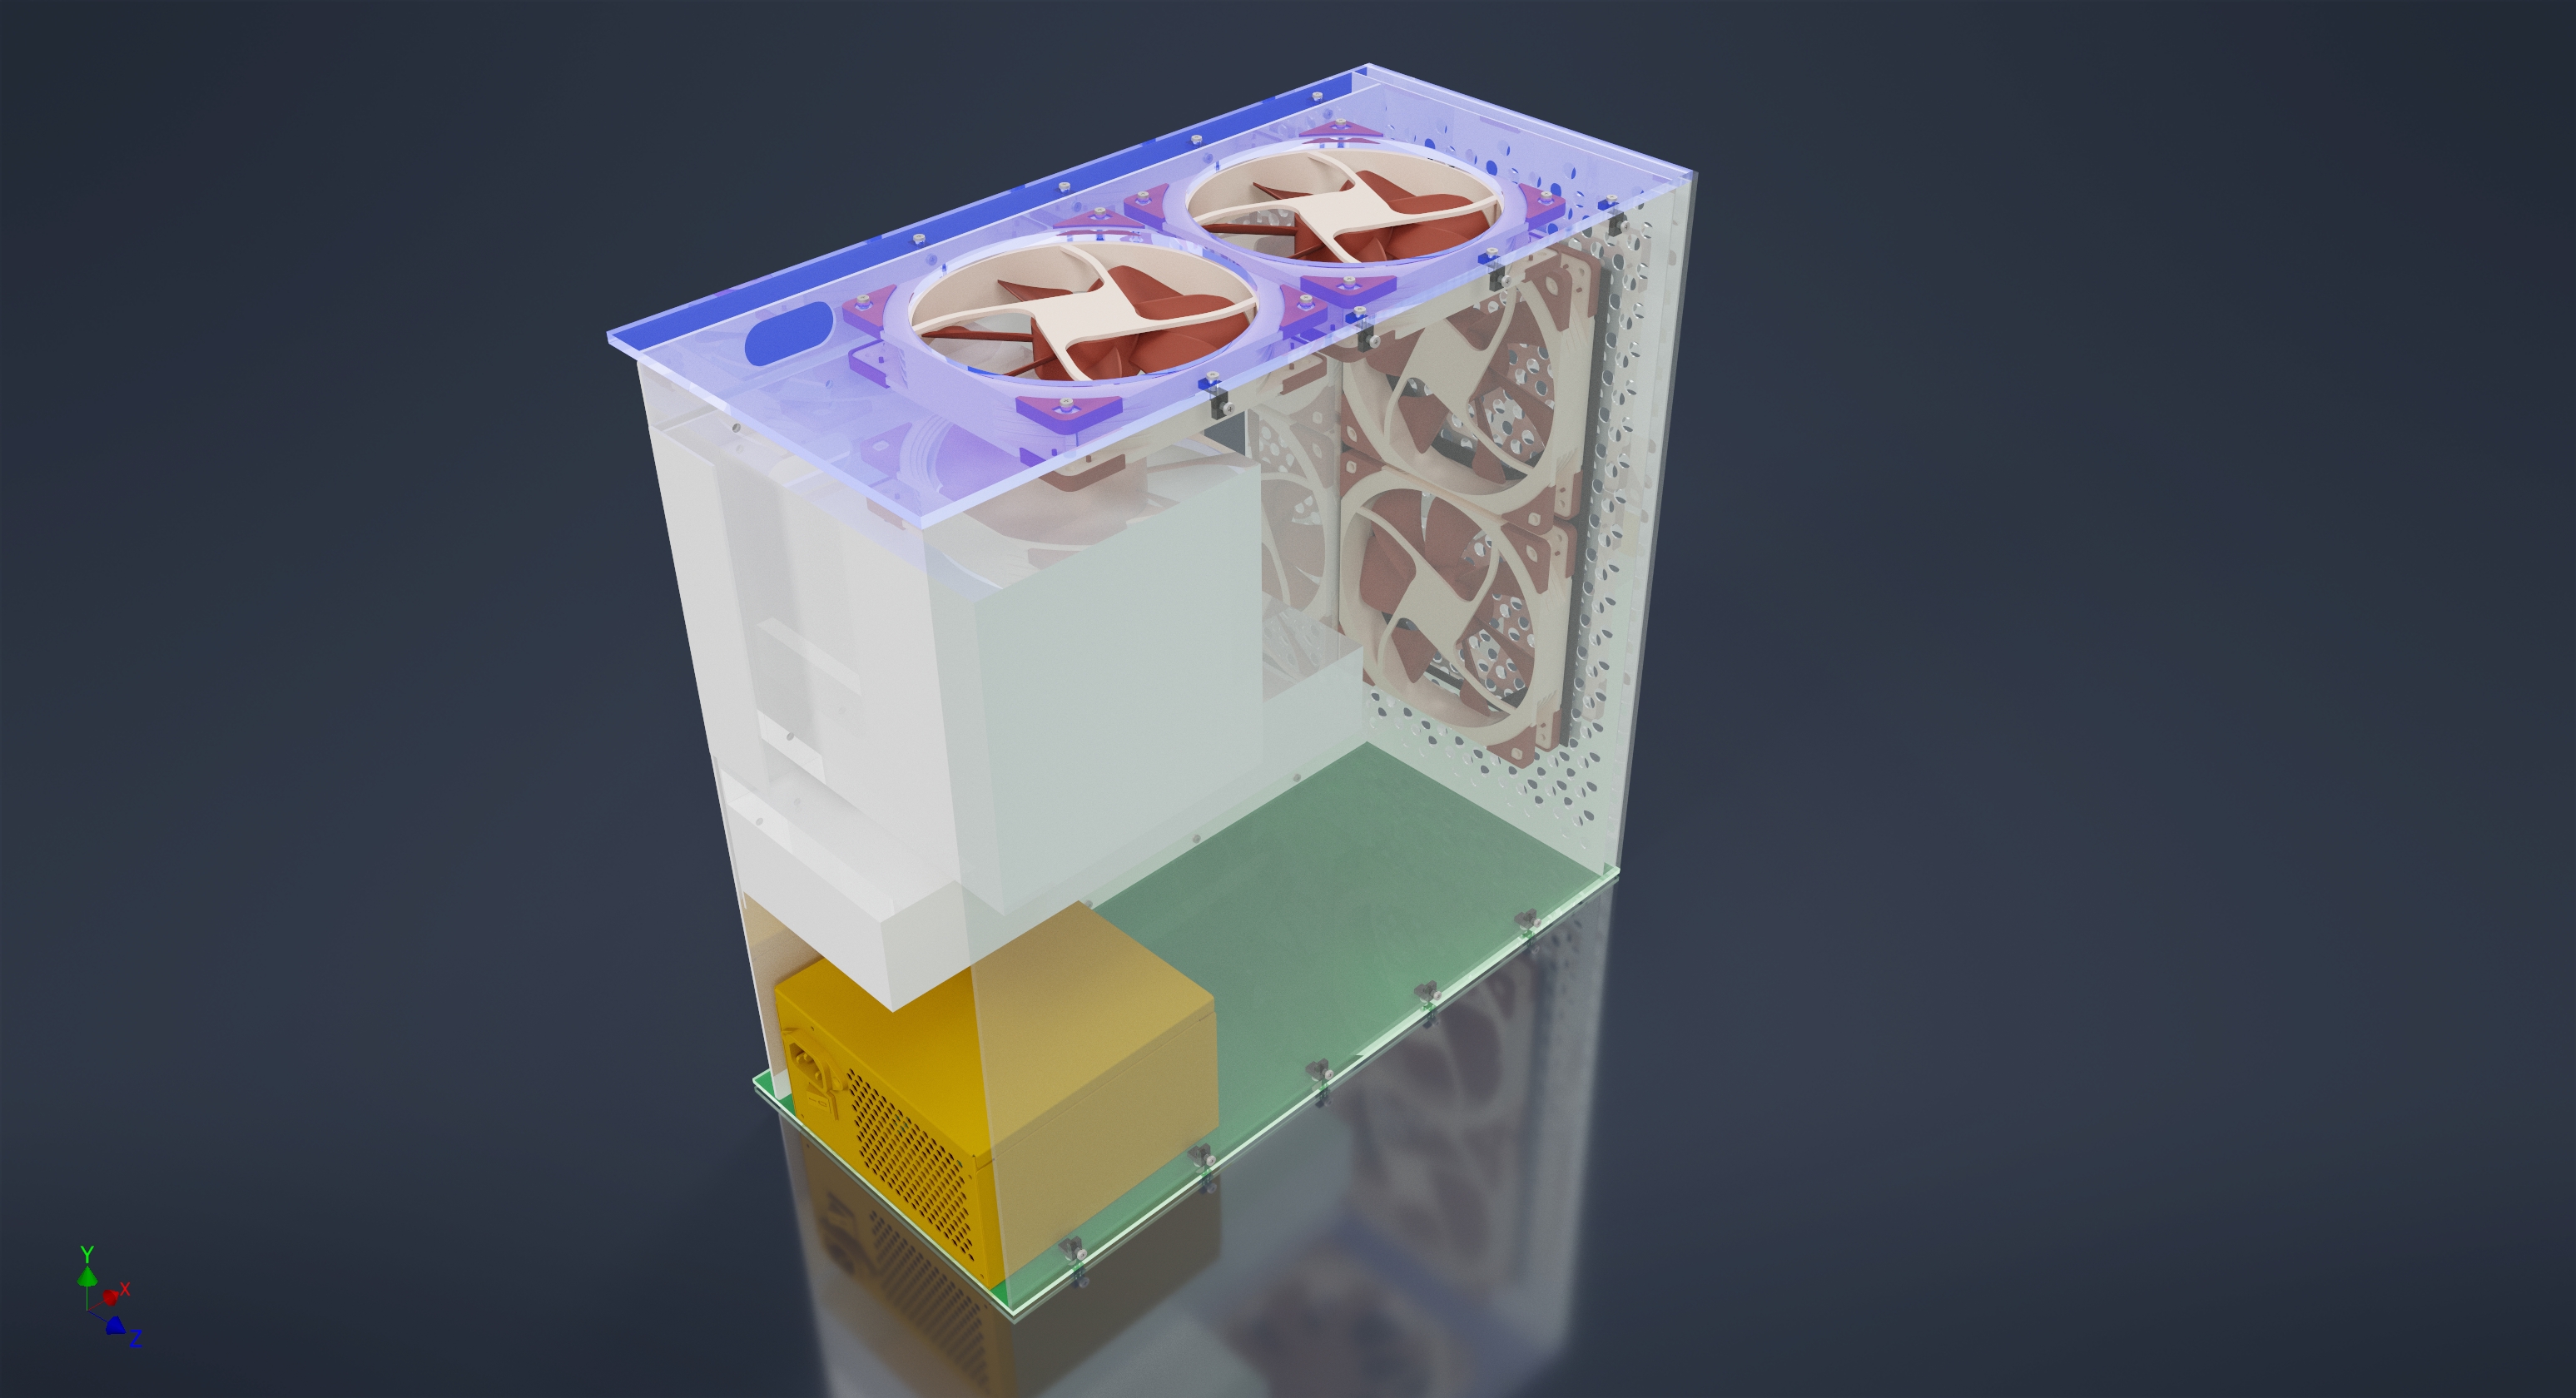
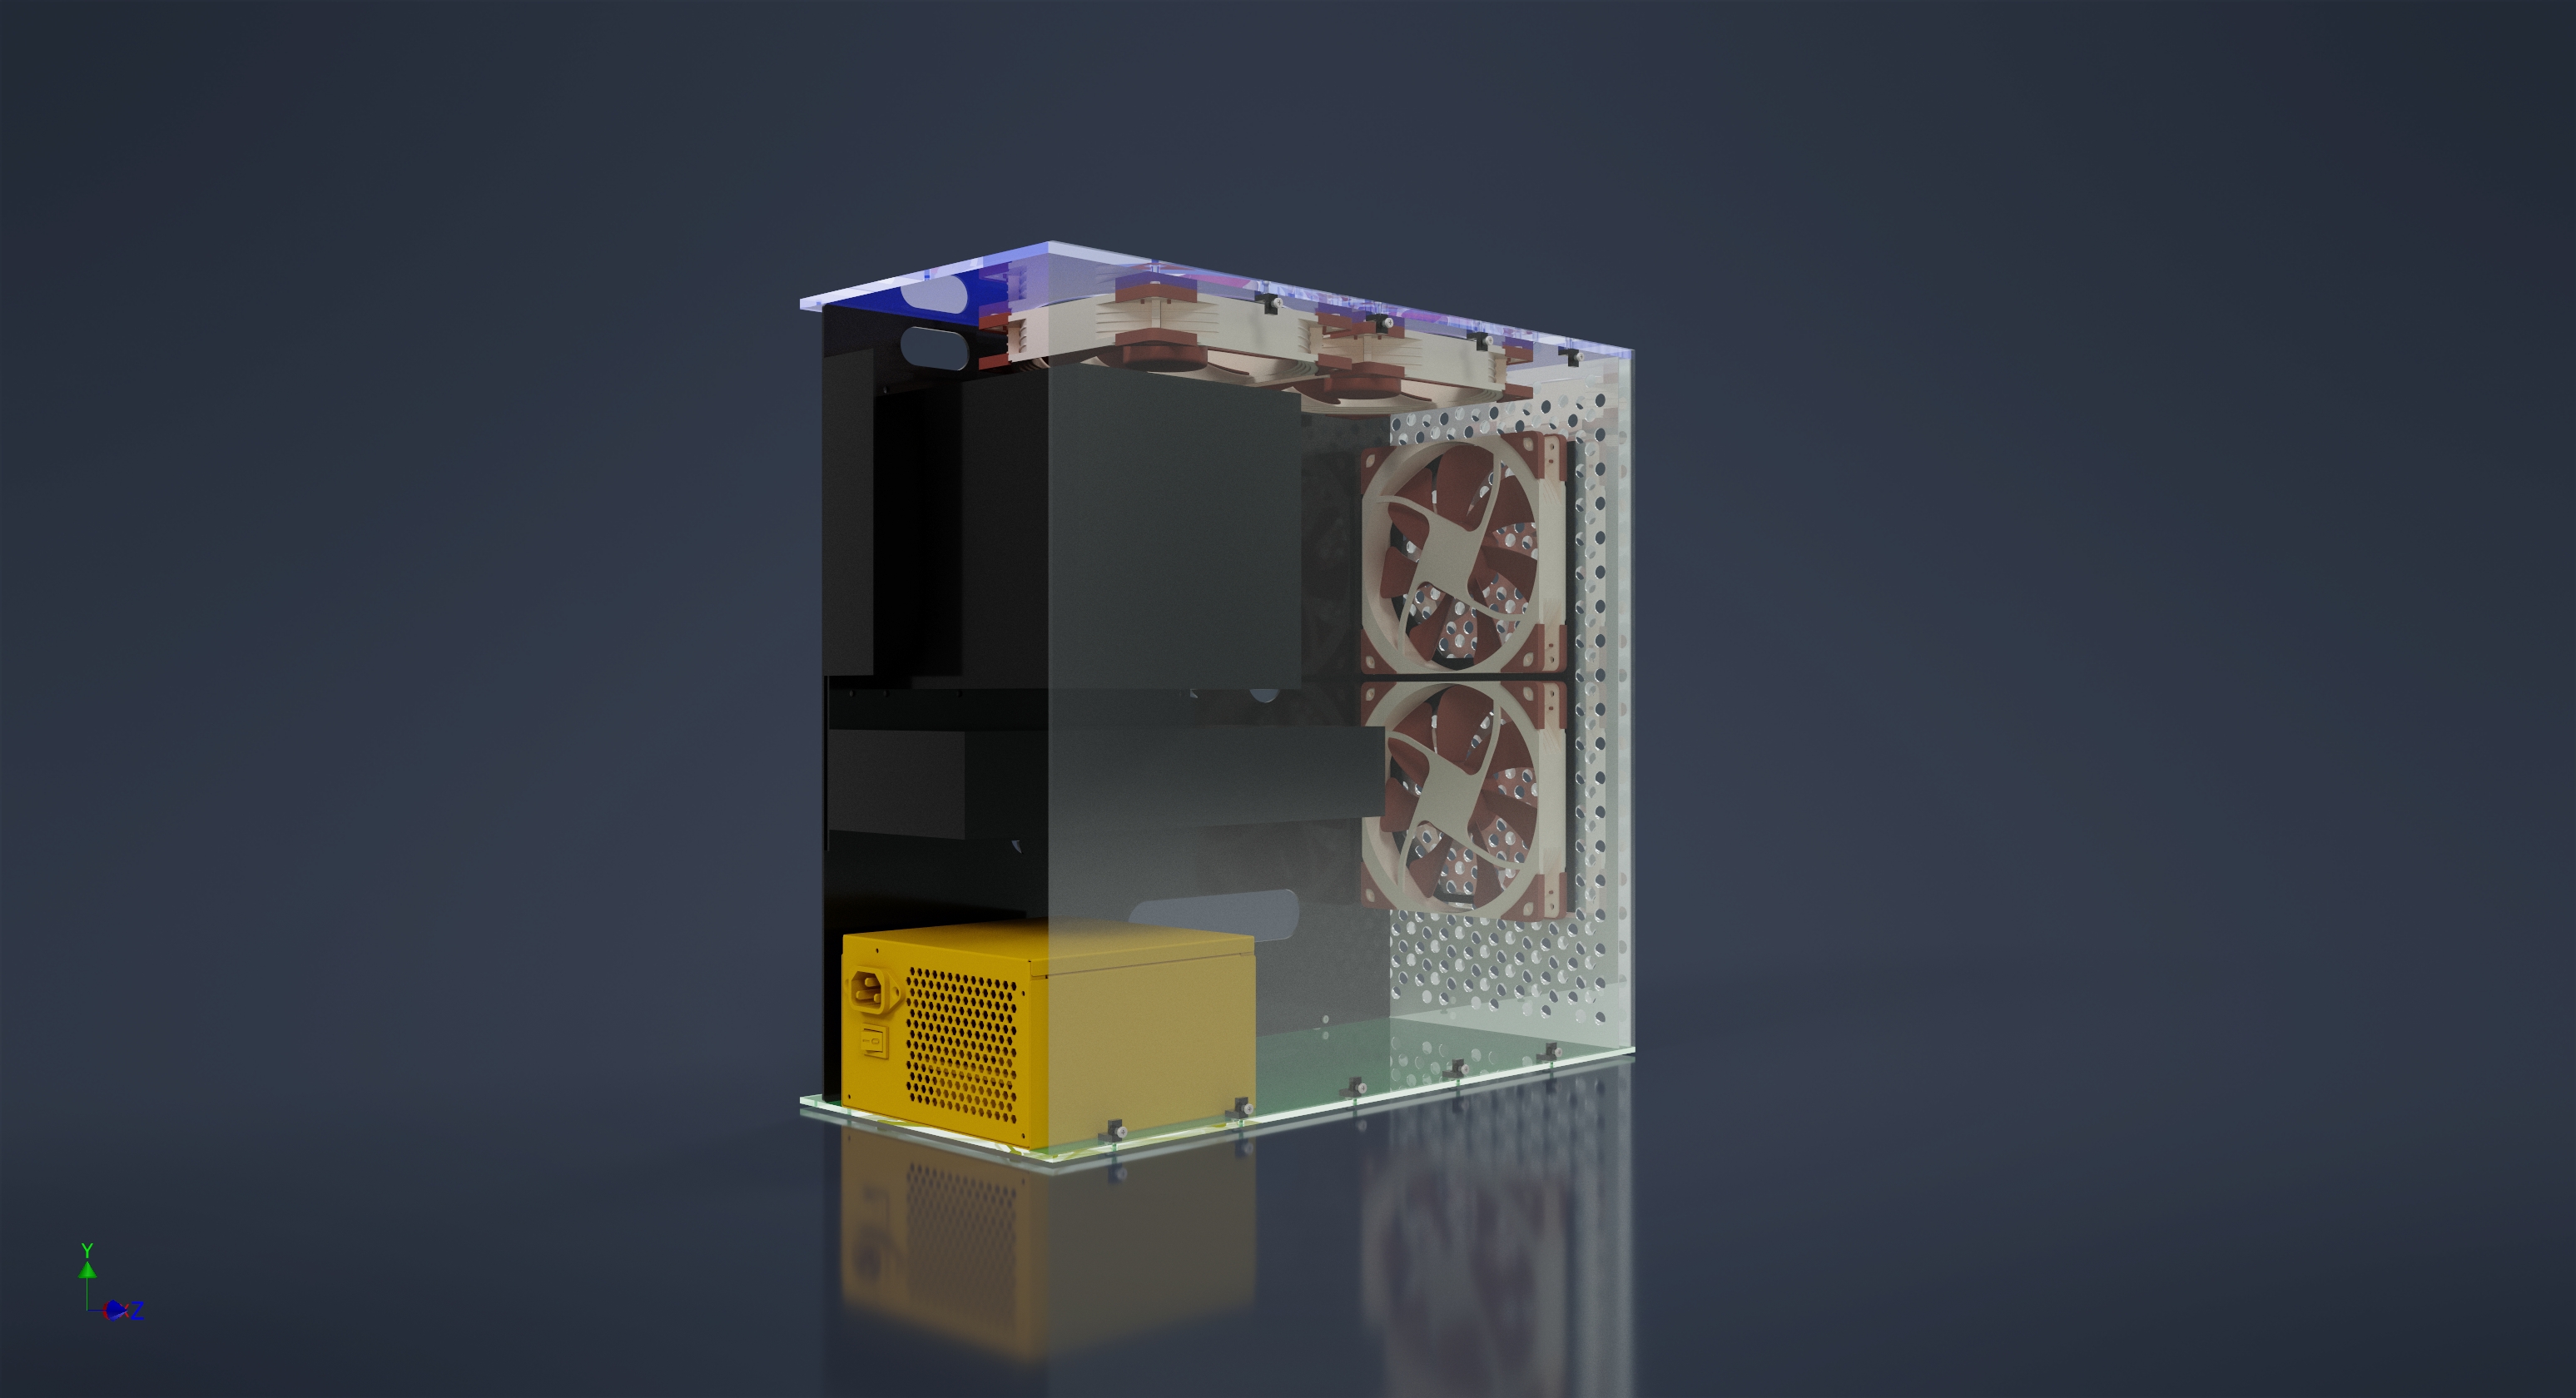
![]()
Looks cool, right? But it only looks cool.
I didn’t leave enough margin for testing and wasn’t careful with the details — I accidentally rotated the motherboard holes by 90°. It was a disaster.
I ran out of both budget and time because school was starting.
Those mistakes became recurring themes throughout the school year.
On Time, On Scope, On Budget
Project: Nameplate
My initial approach was simple — just make a nameplate.
And I went as creative as possible.
Since I didn’t have a defined plan, I made several.
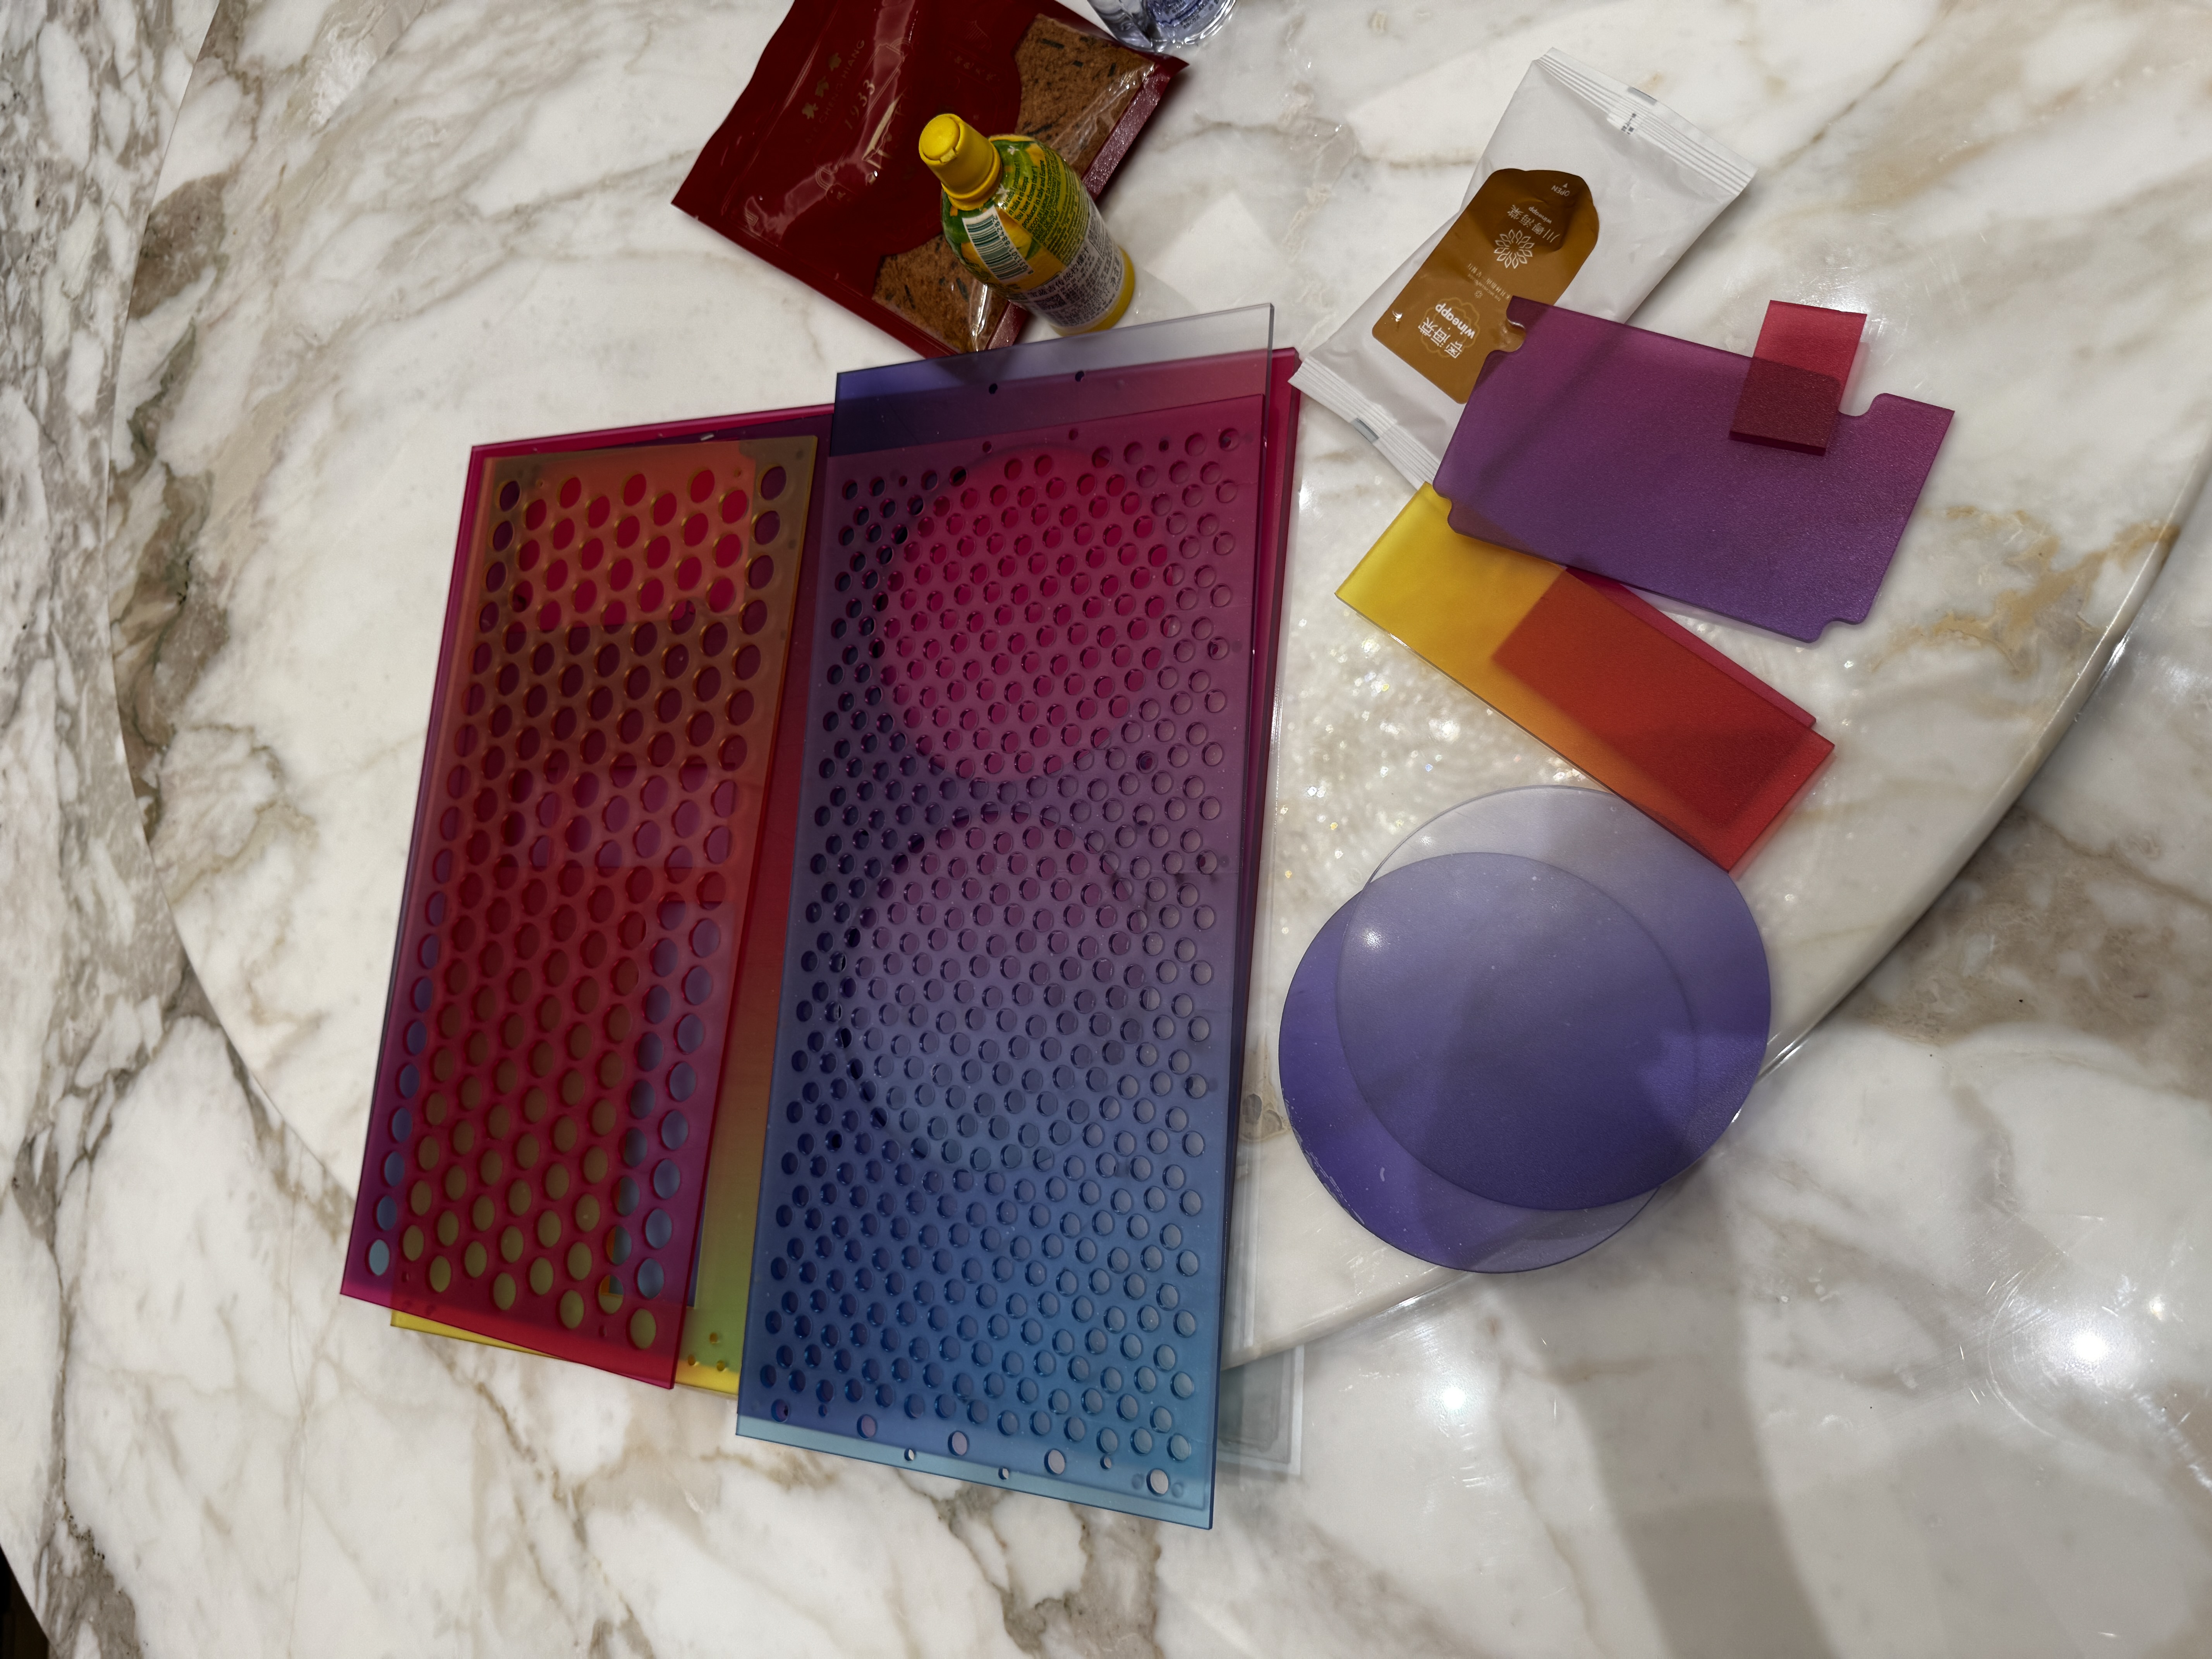
Gallery Walk


Thoughts
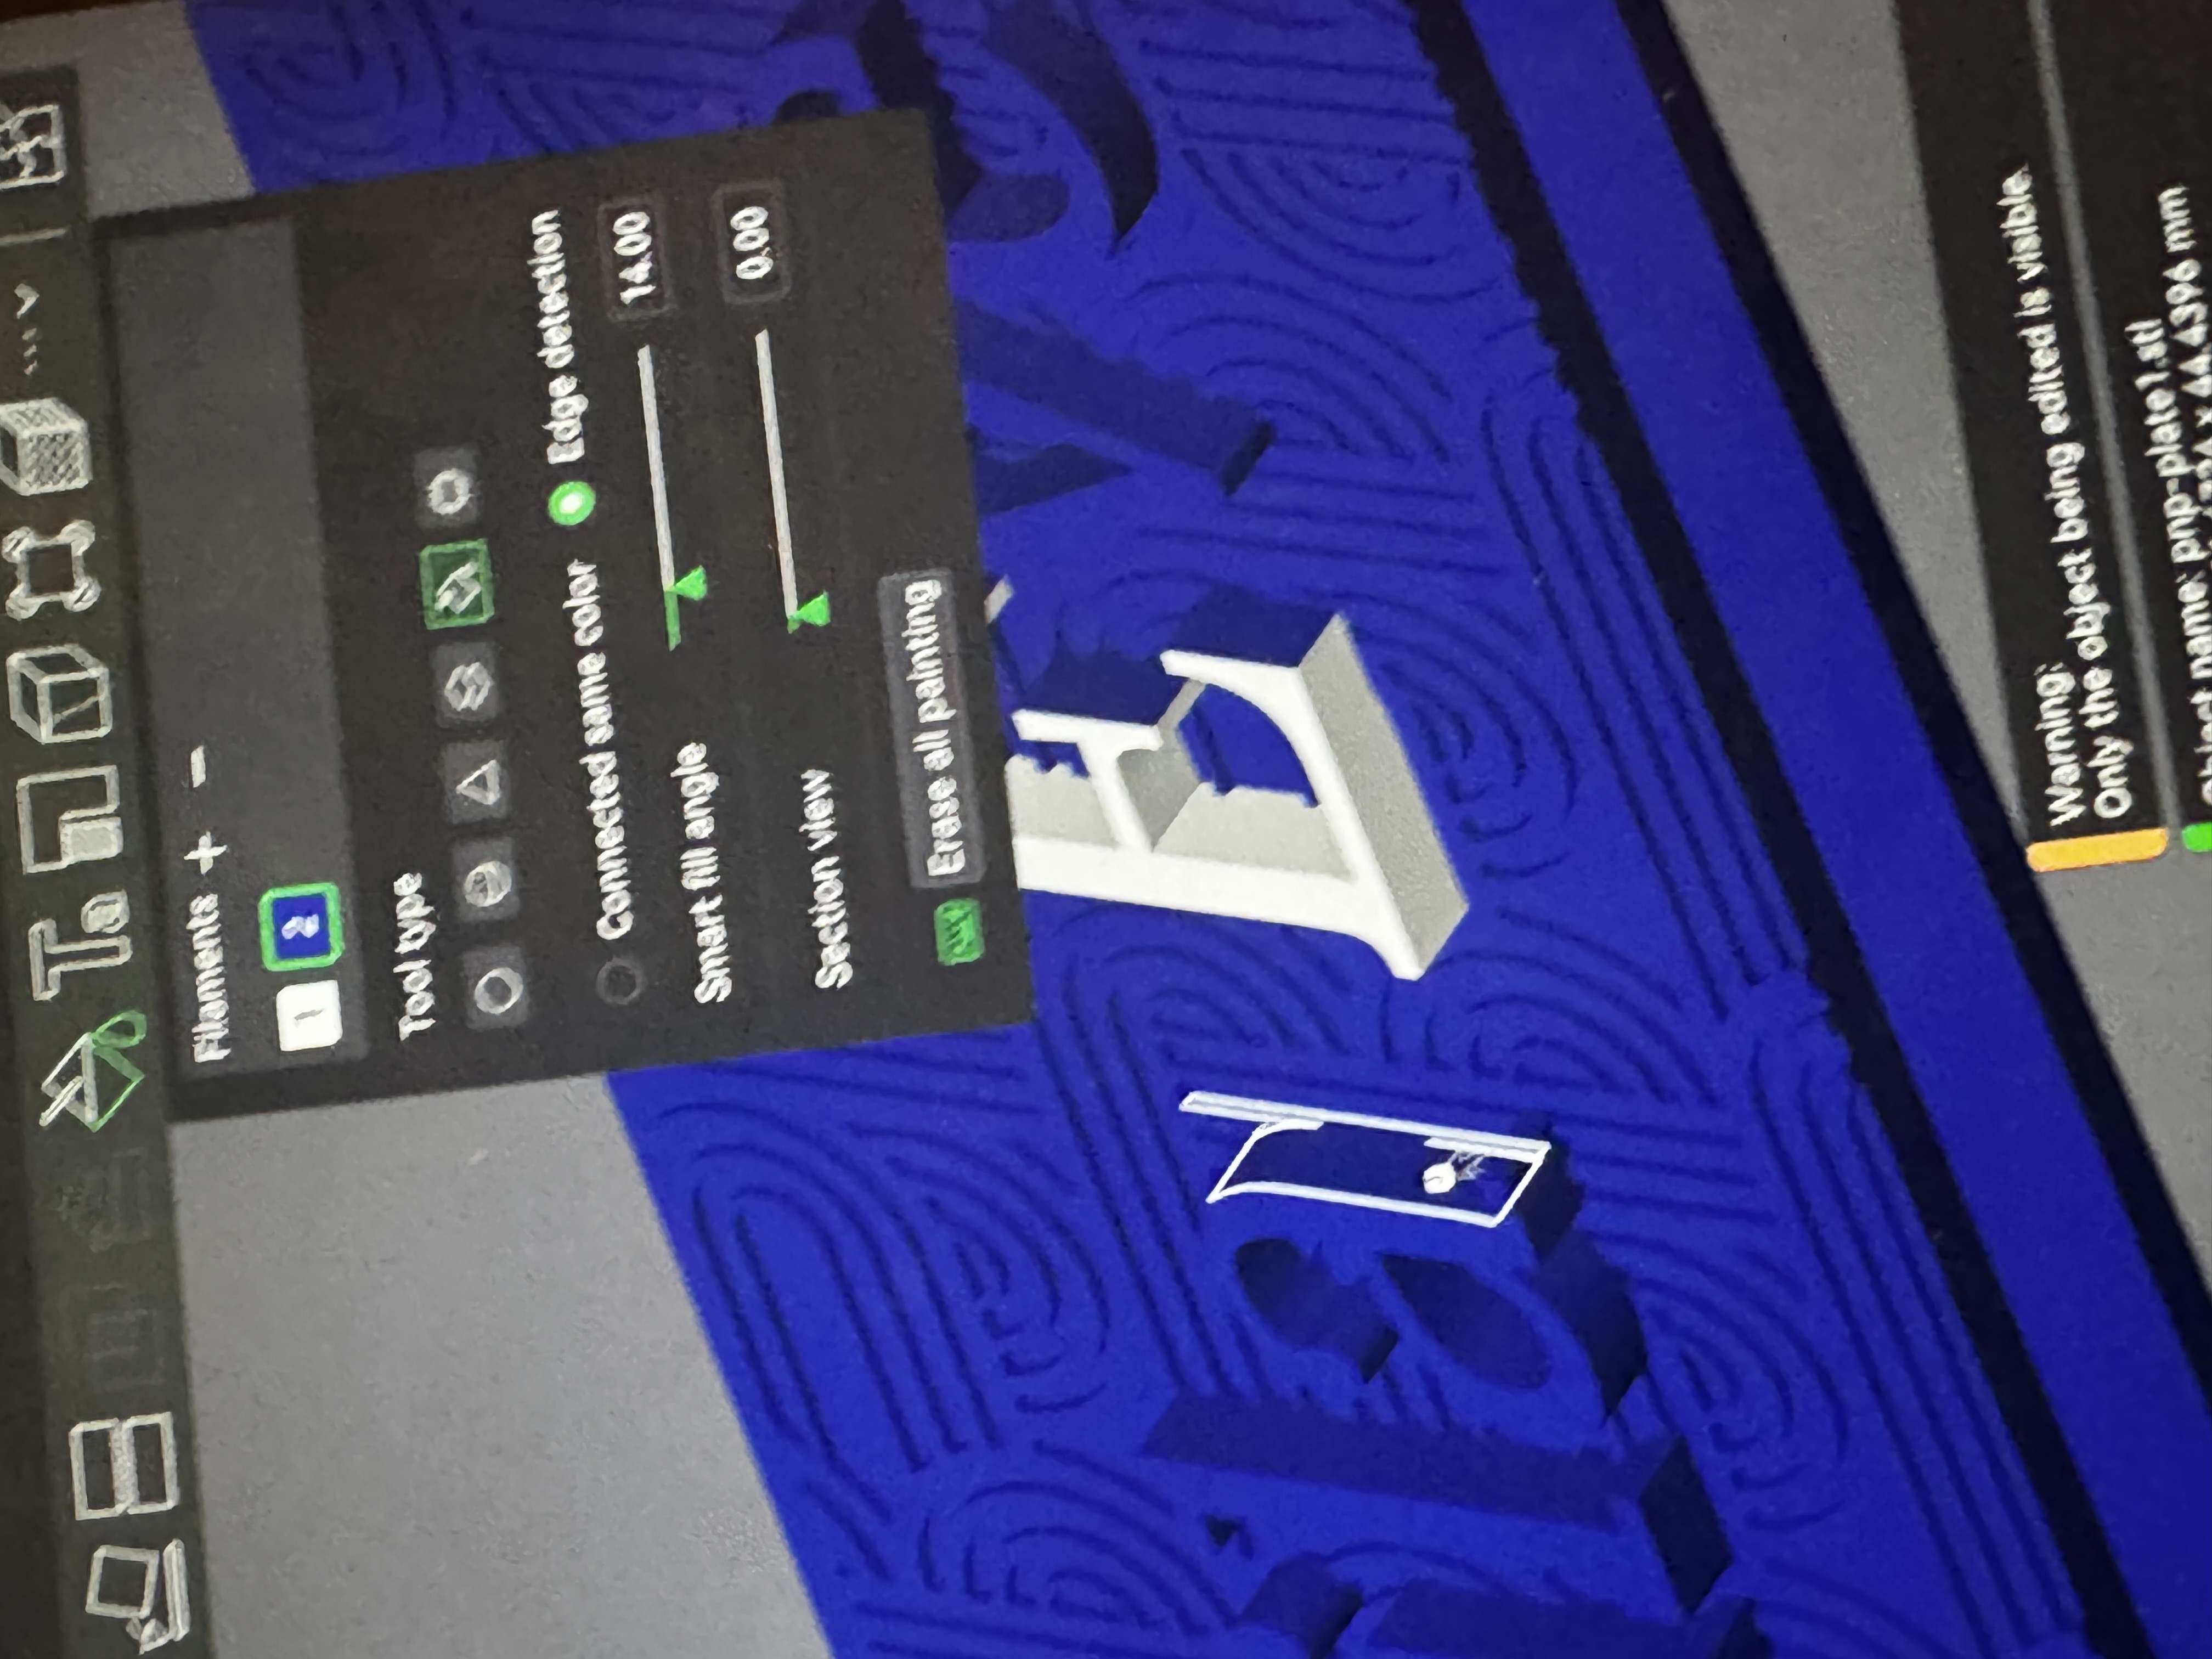
During this phase, I explored every Onshape tutorial I could find.
I learned a ton, but it was also draining.
In my designs, I experimented with many tools:
- Lighten feature-script (inspired by robotics)
- Loft (inspired by topology)
- Semicircle circular pattern on a circular pattern — “Roman temple” style
But did the results look nice? Nope.
I had to stay on scope.
That’s when I started searching for a unique approach.
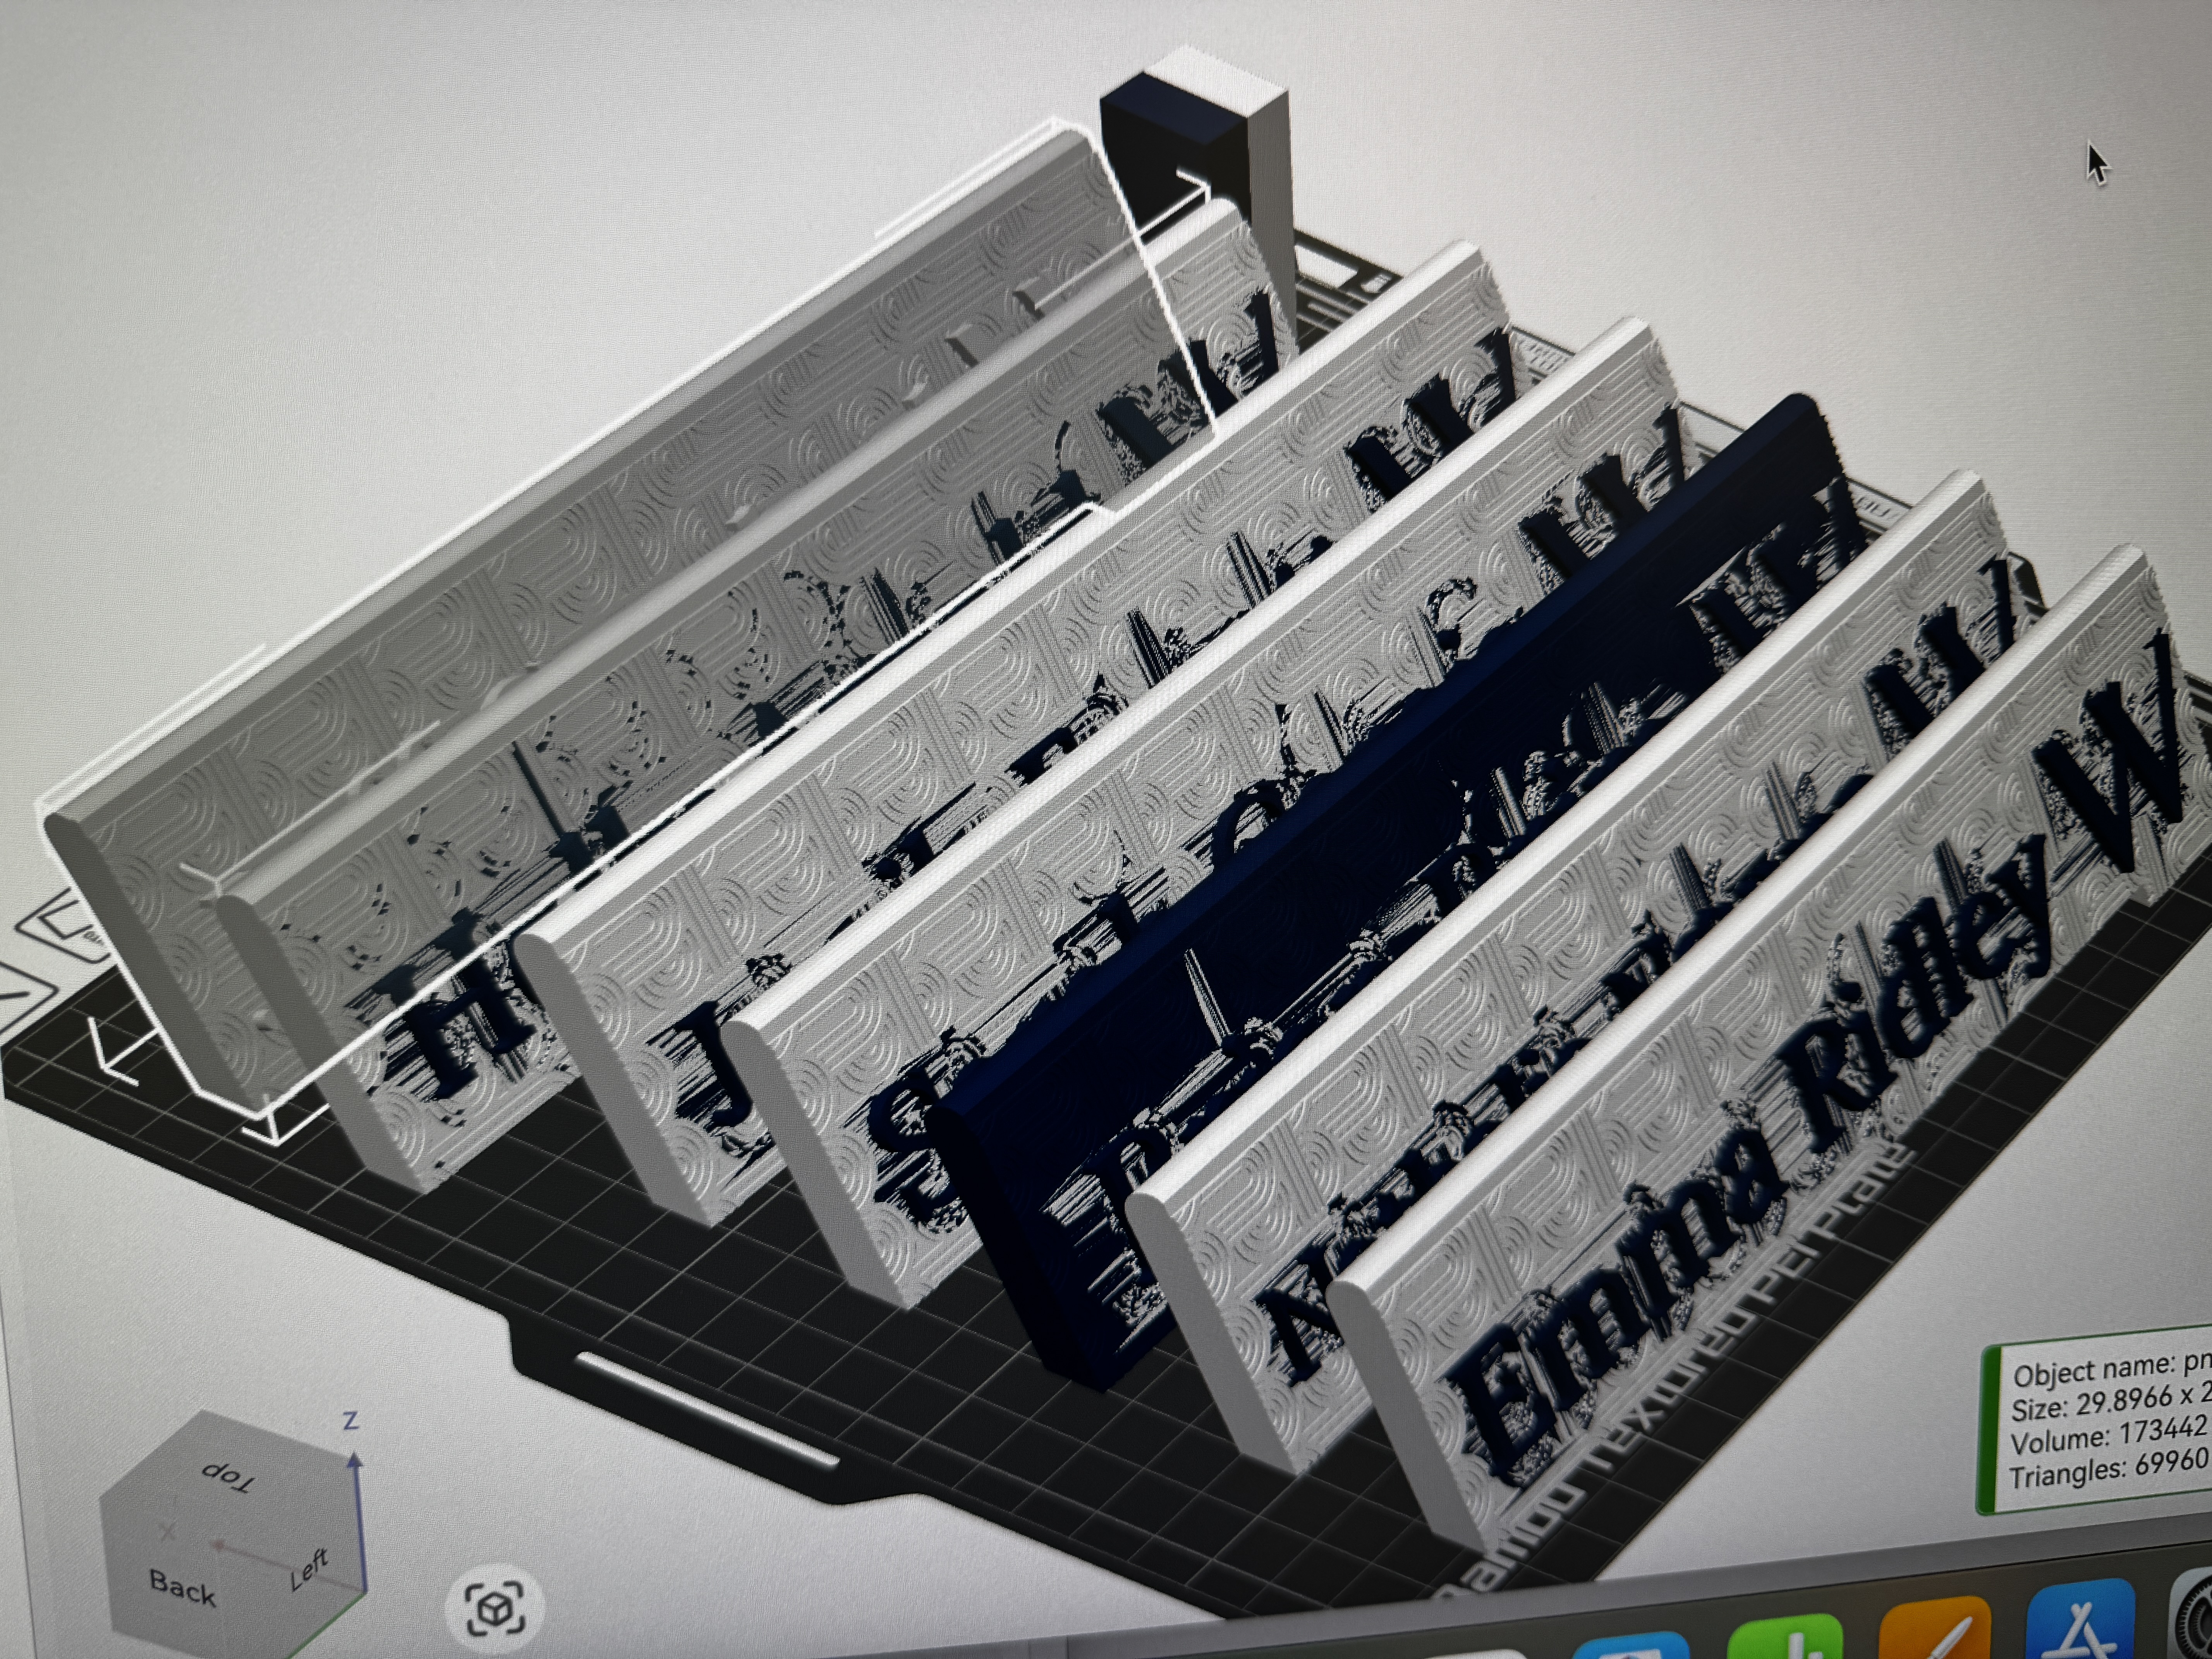
Dual Nameplate
Finally, I settled on the “Dual Nameplate” design.
Here’s another gallery walk:


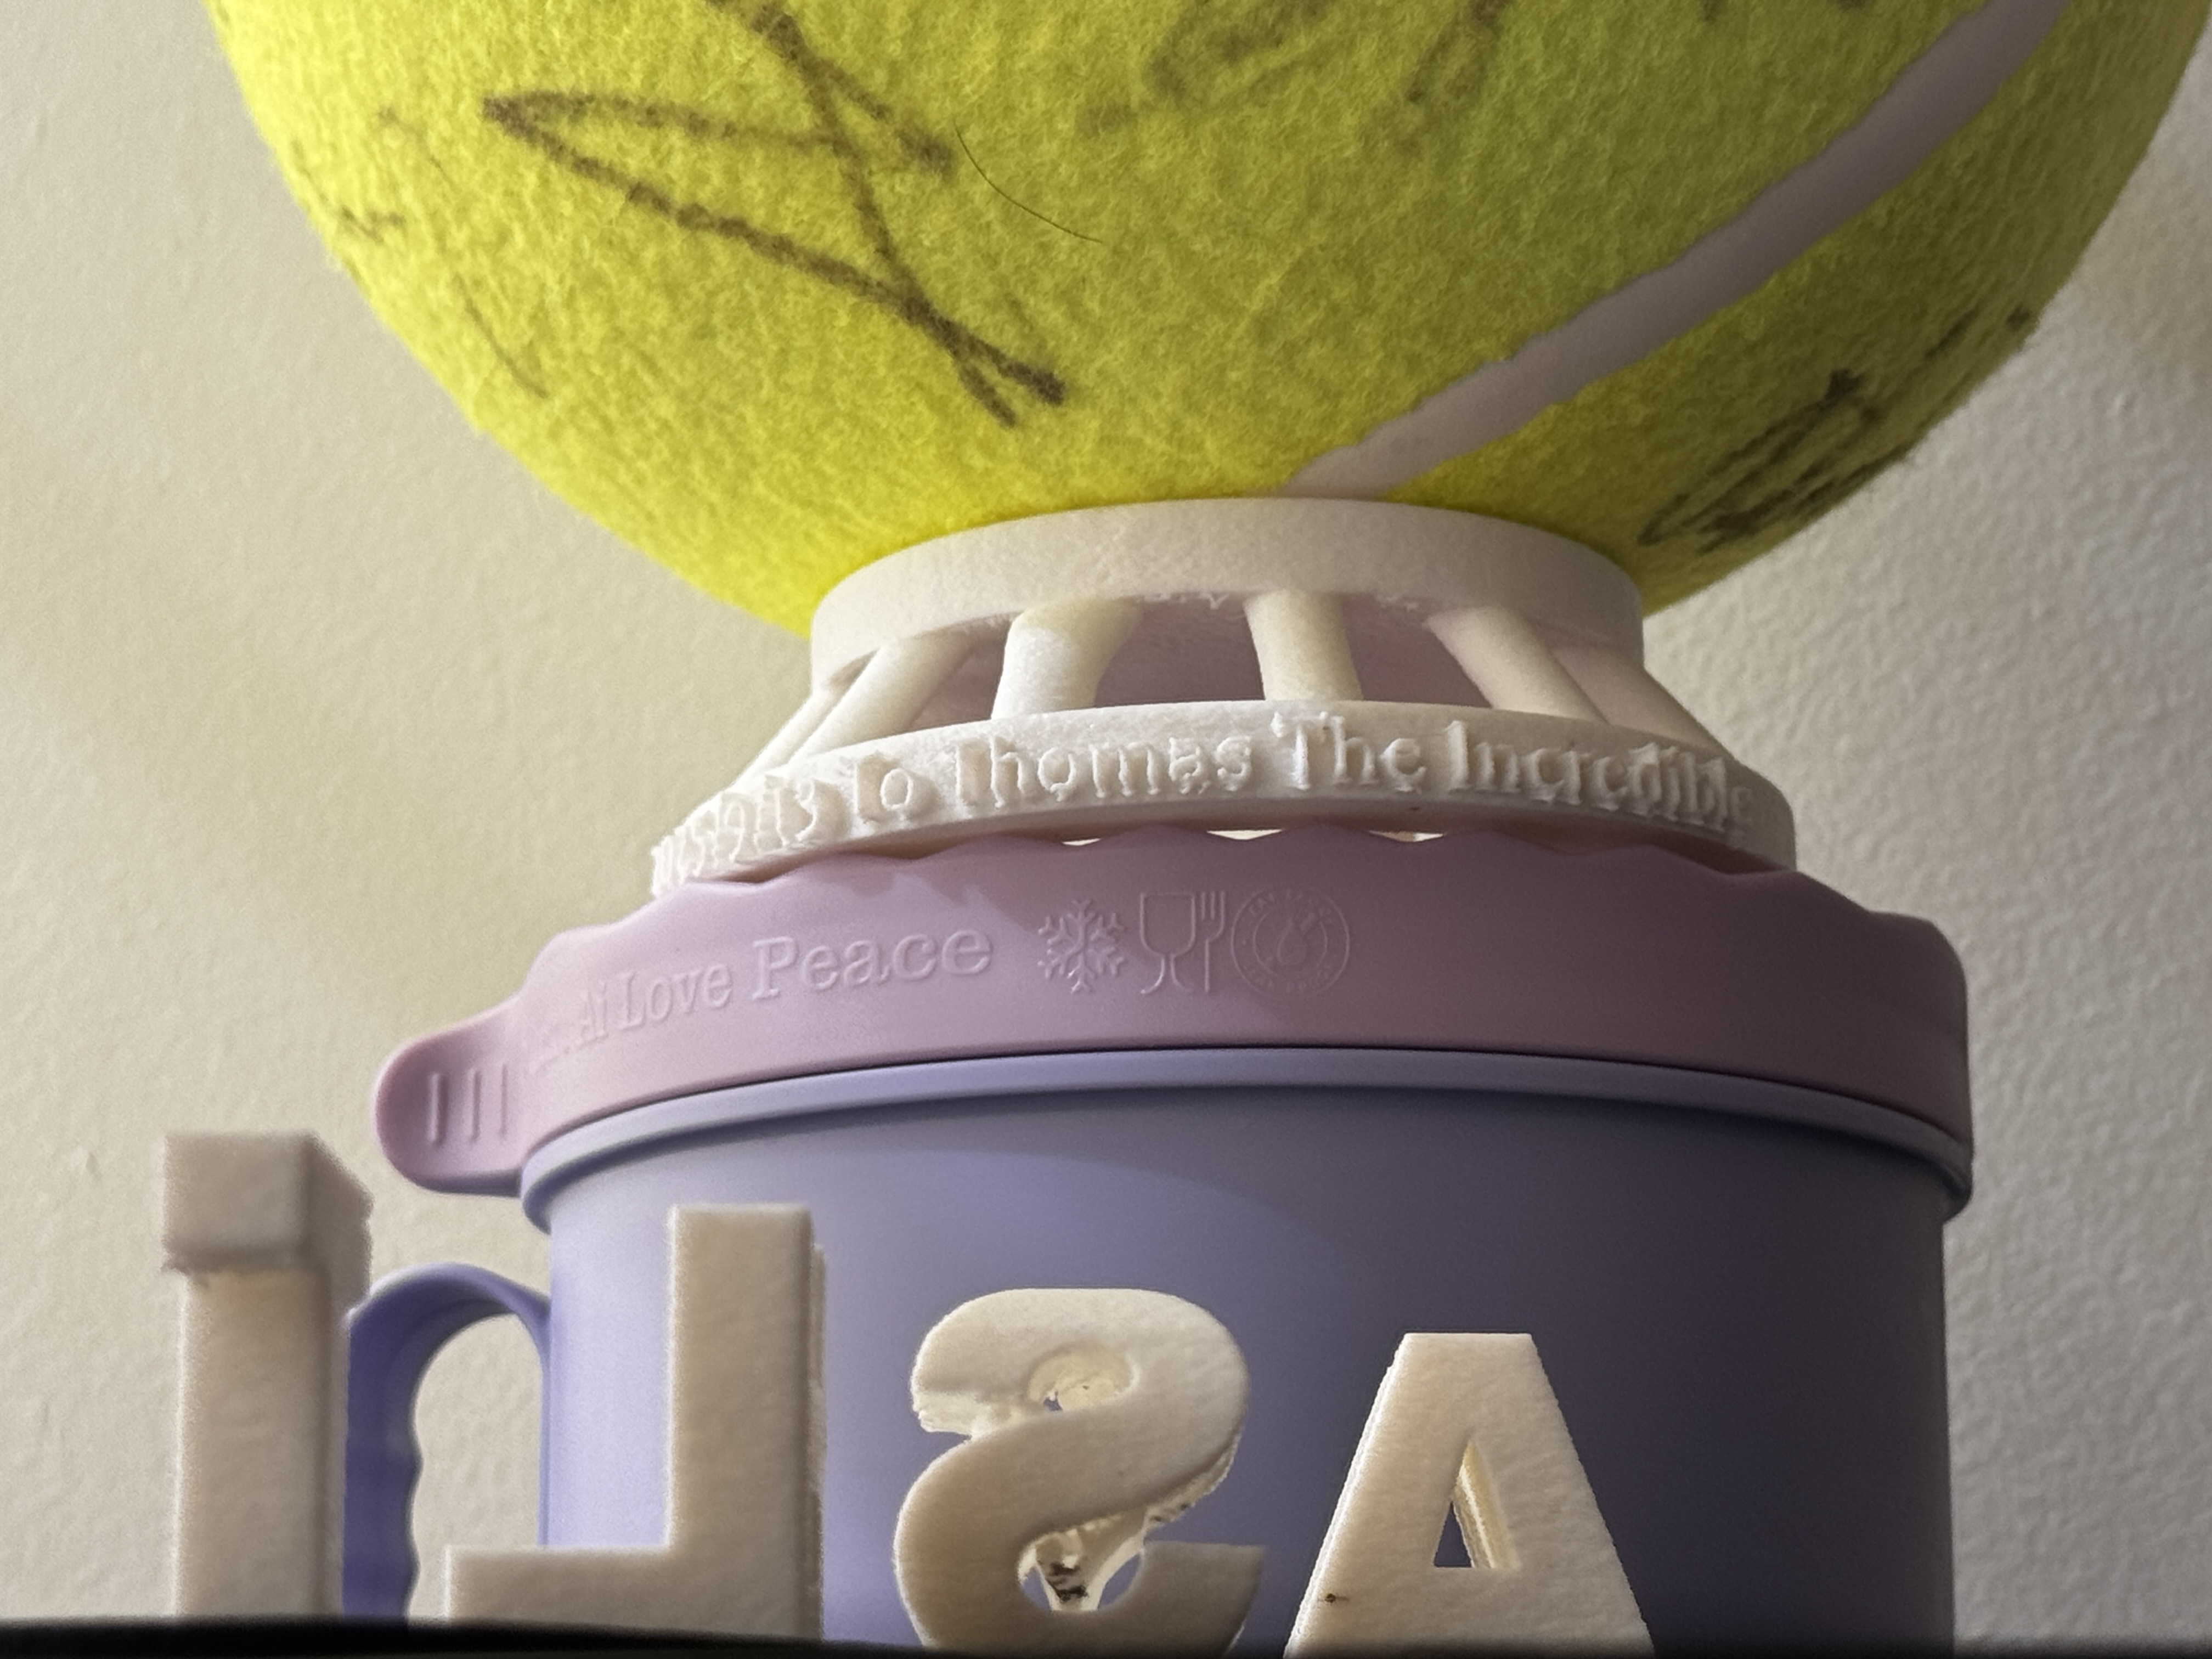
I even made a version for my school — but I didn’t check the support structure, which made it fragile and hard to remove.
Dual Webb

Back to Topic
Finally, I still had to complete the team project.
We asked our clients (the admissions team) for their requirements:
- Font: Lora
- Dimensions: 2 × 8 × 1 in
- Theme: School-oriented, professional
- Must be presentable
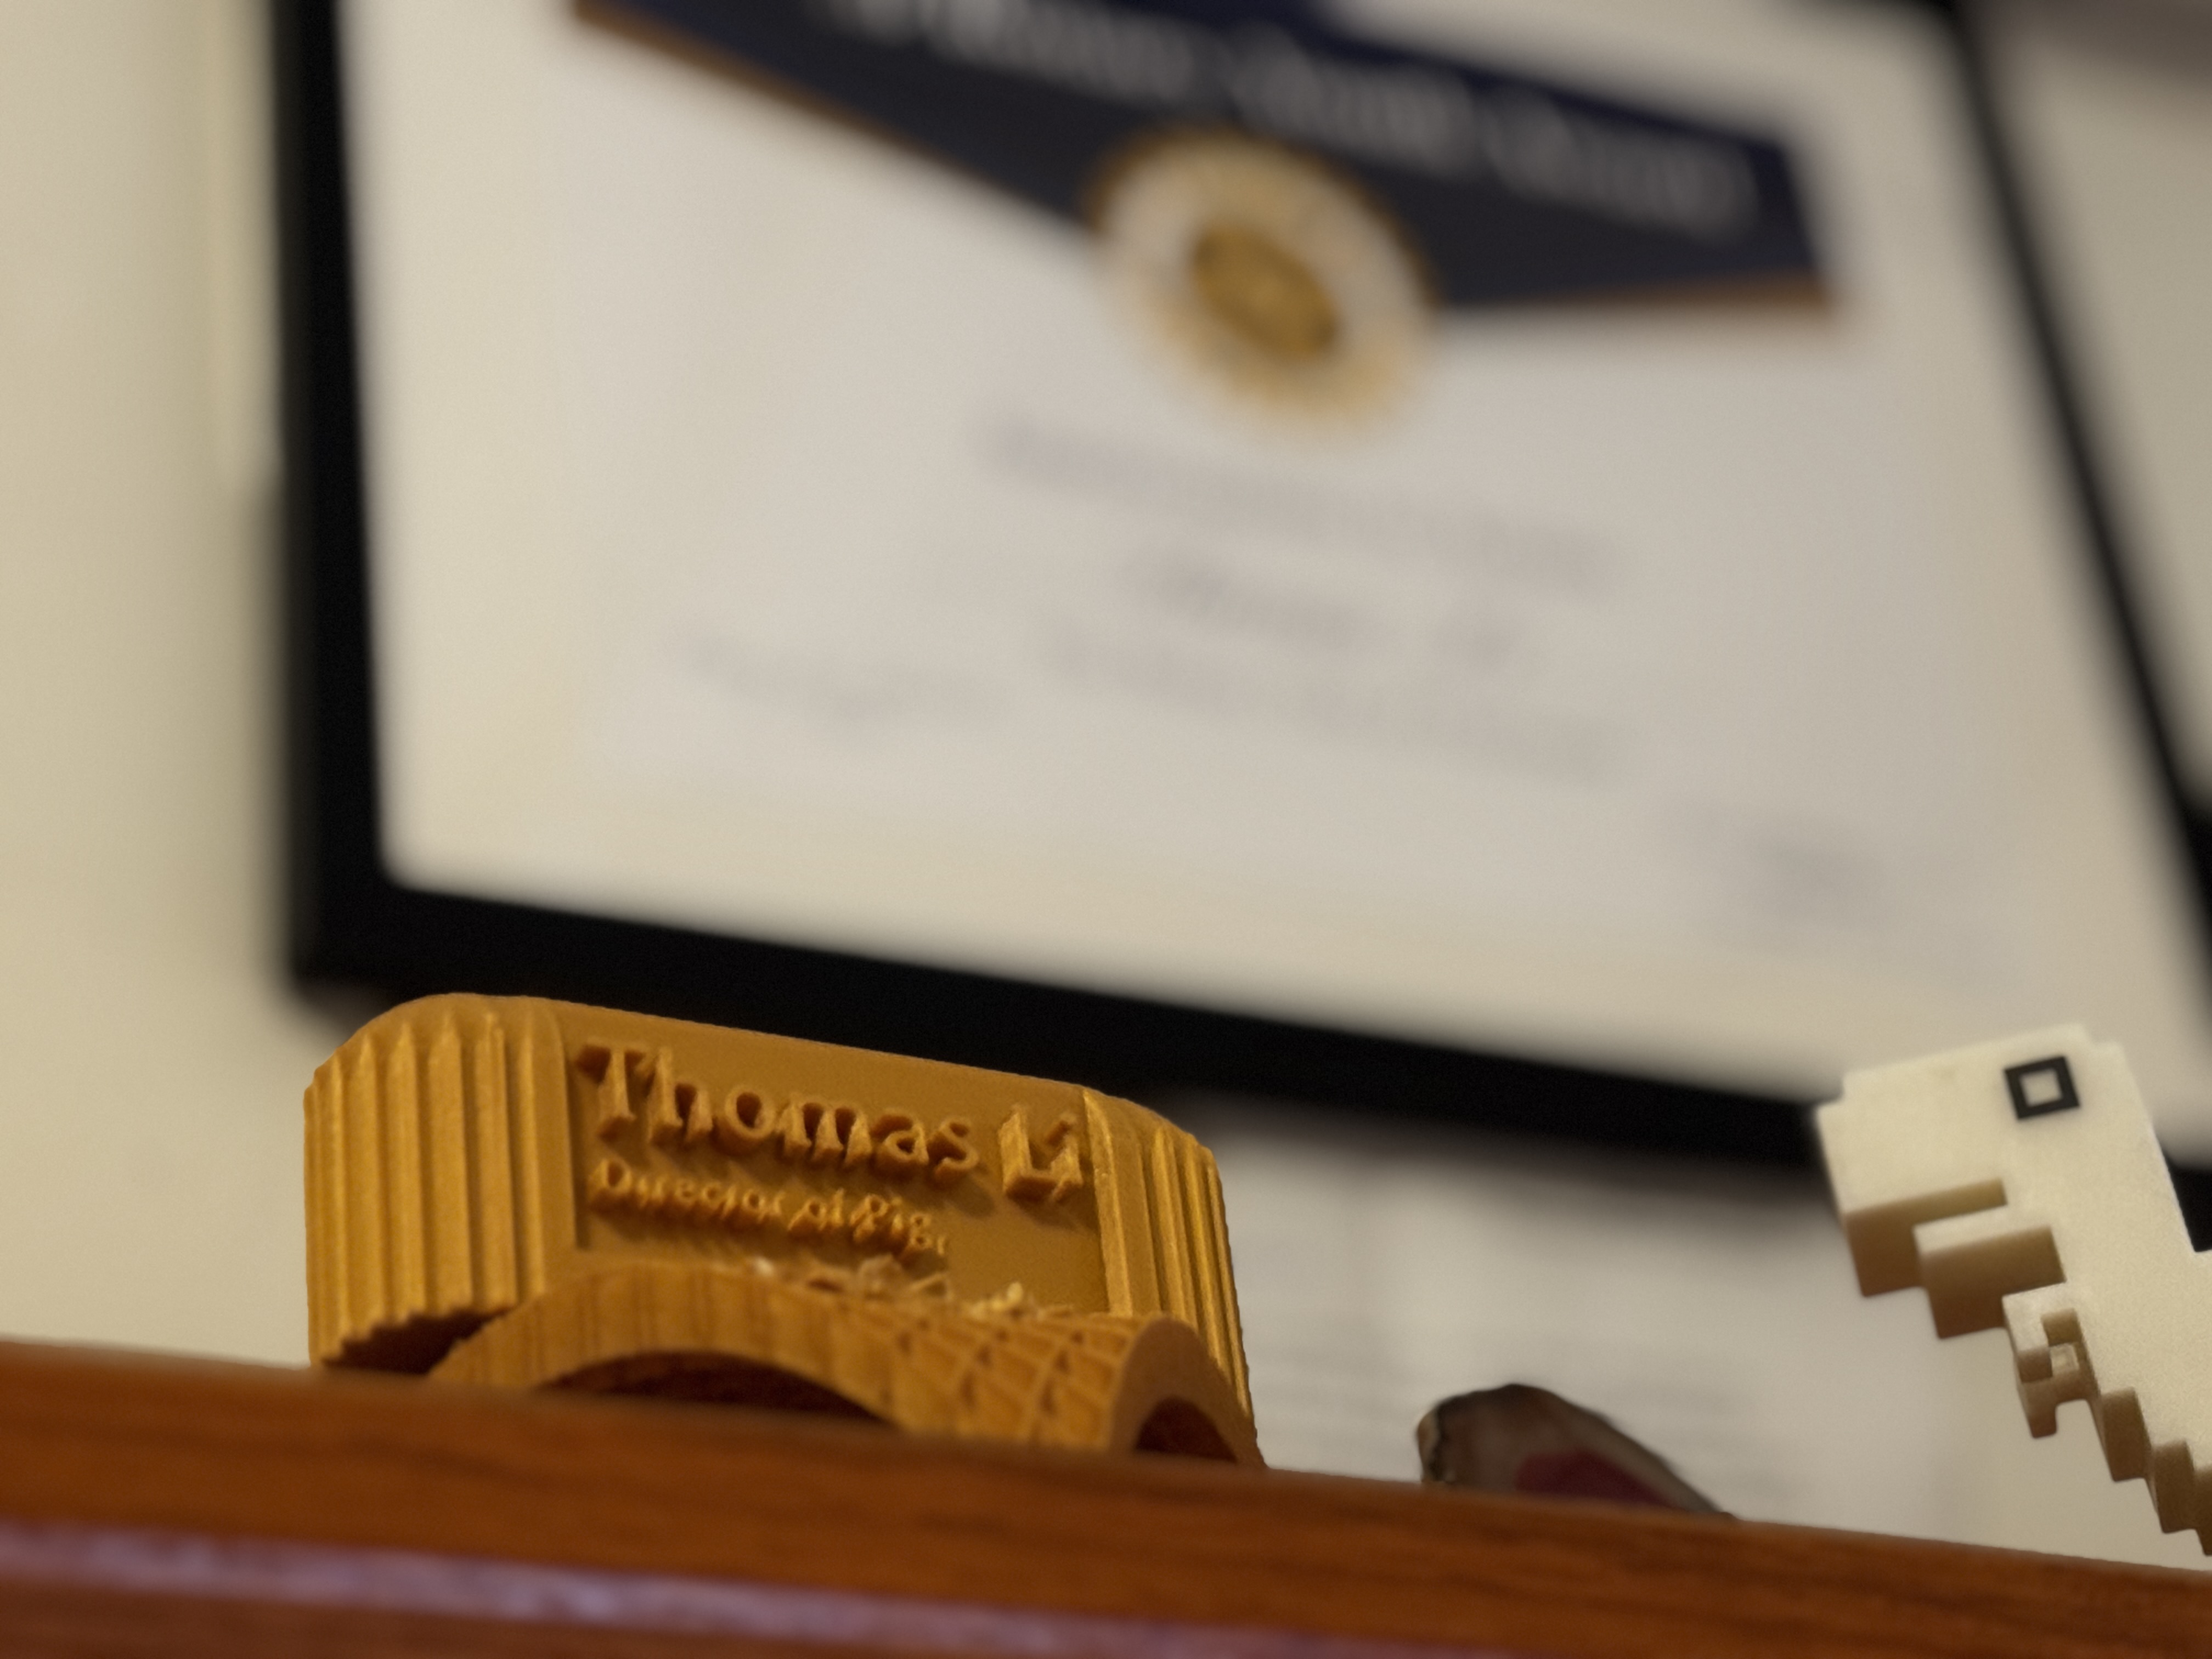
My teammate and I focused on the achievable goals and trimmed away excessive ideas.
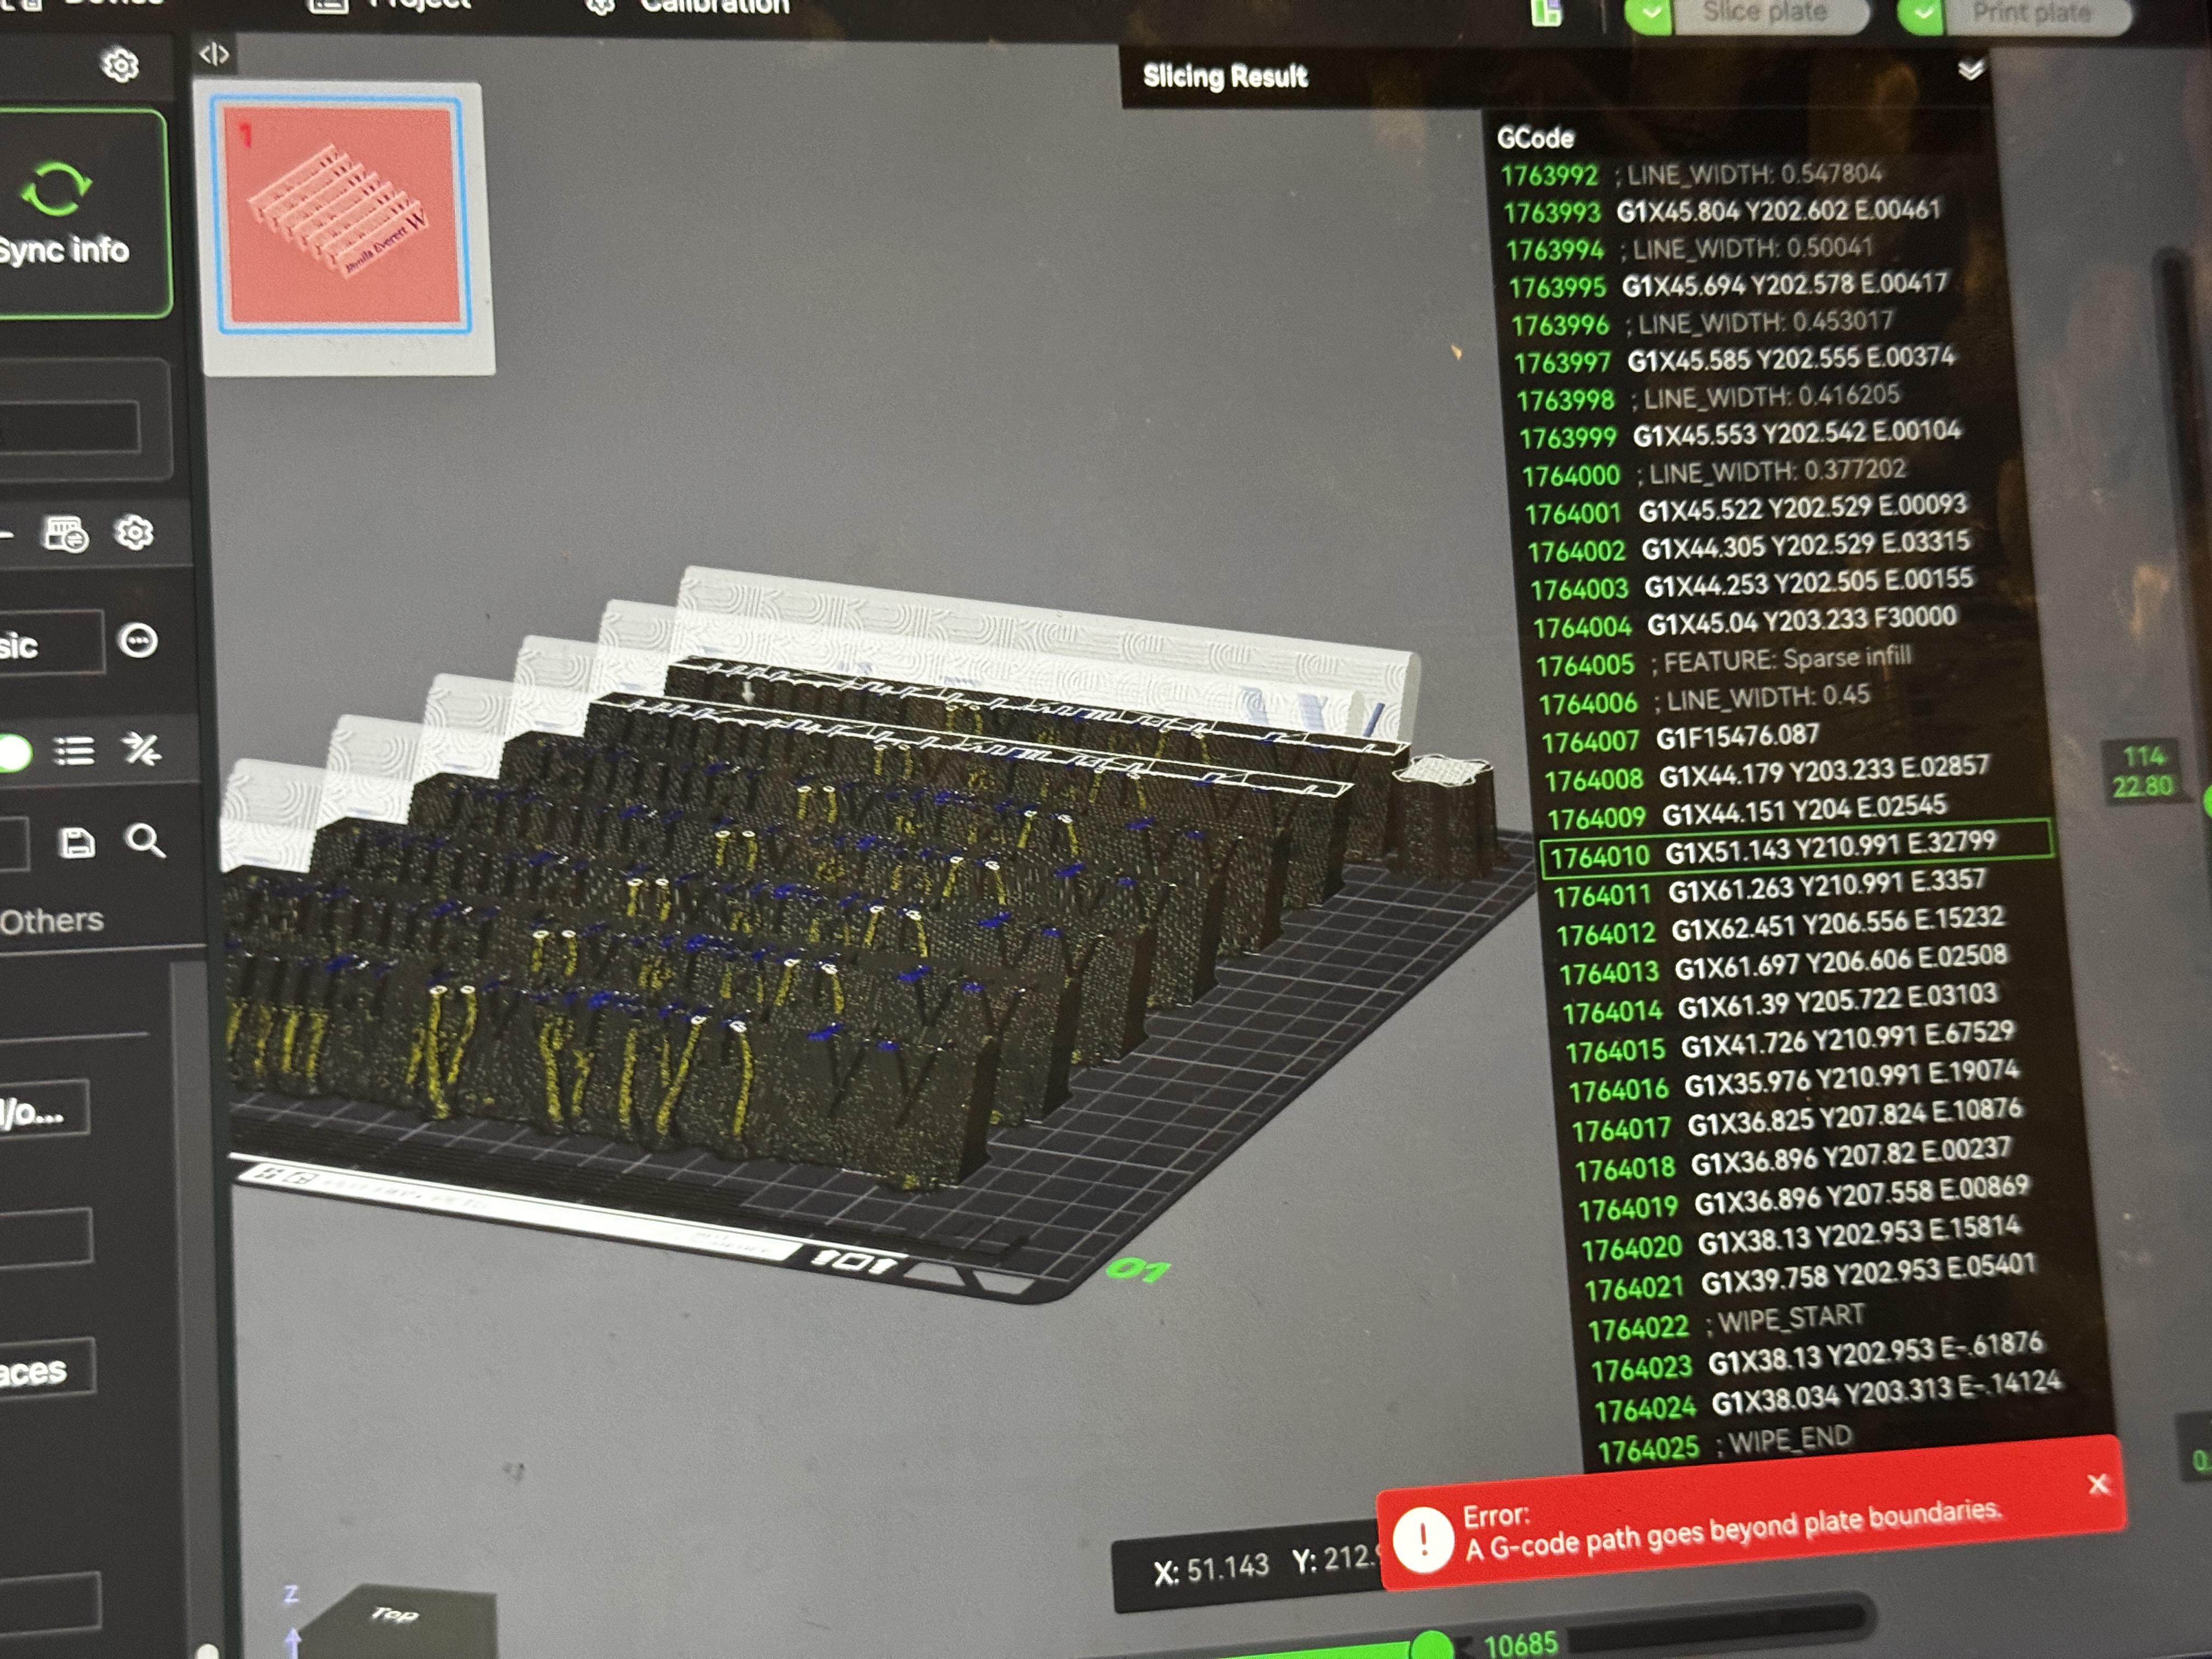
We created a school-themed pattern in Fusion and mirrored it for balance.
Then, we added a sliding mechanism so the base could be printed separately — reducing failure risk.
After several rounds of printing and adjustments, we finally got there.

Finale
This is the final print time-lapse — 24 hours!
Teamwork makes the dream work.
Improvements for the Future
- Better locking system
- Cleaner CAD structure
- Tuned Bambu Lab settings
- Clearer time management
- Stronger teamwork
Extra Photos